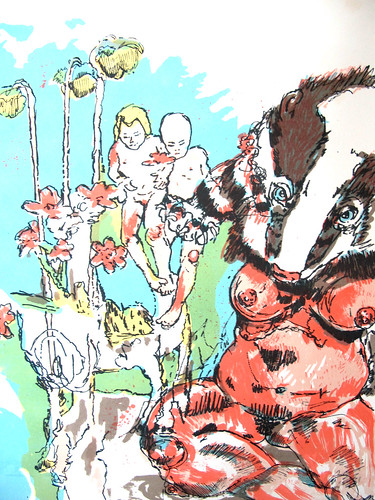
This is the print I made last week in Melissa Harshman‘s class, week I of Frogman’s Print & Paper Workshop. It is six color screen print on BFK Rives paper. If you’re not familiar with Frogman’s, it is a printmaking workshop in Vermillion, South Dakota hosted by the University of South Dakota. It’s a great way to learn new processes, make connections in the art teaching/printmaking world and have a lot of fun!
I did have previous experience with screen print before last week’s class, both for art purposes as well as by working as a production screen printer for a couple of T shirt companies over the past six years. I always feel that I could learn more, however, so I really wanted to take screen printing at Frogman’s and learn any of Melissa’s tricks she was willing to share. Also, I wanted to see the “road not taken” in that the University of Georgia, where Melissa is a professor, was on my short-list for graduate schools when I was applying several years ago.
It came down to the University of Georgia and Louisiana State University in my final decision, actually. I was accepted to both, but LSU promised me a full teaching assistantship and scholarship, while UGA said that I could most likely “find” some funding over the course of my first year. That fact of easier, immediate funding at LSU plus their large collection of litho stones and their two 10′ presses for large format printing lured me back down to Louisiana (not to mention Blake was already living there and he had the opportunity to teach at nearby Tualne University.) It was a really hard decision, however. I loved Athens and UGA. It would have been nice to be closer to my family and to my BFF, Logan. As Vonnegut says, So it goes…
In any case, screen printing, for those not familiar with it, is a stencil process often using photographic emulsion to expose images onto a fine mesh screen, stretched over a metal or wooden frame. Once the emulsion is spread on the screen and dried, hand crafted and/or computer generated films can be used to expose the screen using UV light. When rinsed, the areas blocked by the film information wash out of the screen. The areas exposed to the light are temporarily hardened or “cured” and serve to block out ink. You then pass a thin layer of ink over the screen using a squeegee to print information. Screen printing is great because it is relatively fast, can be printed on a variety of surfaces, and the screens are reusable. If this still doesn’t make sense, there’s always Wikipedia.
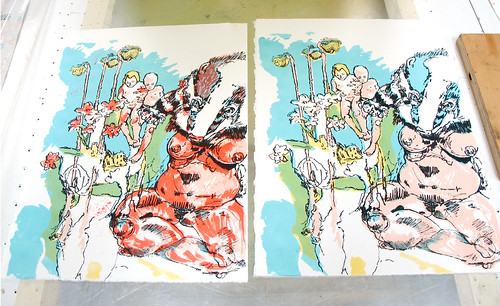
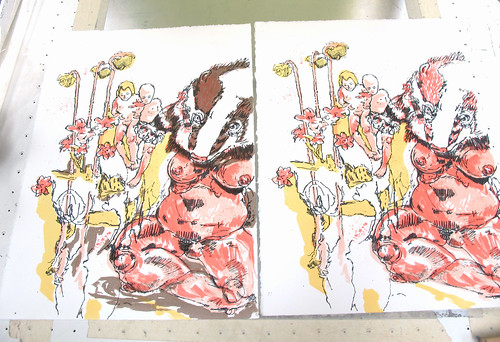
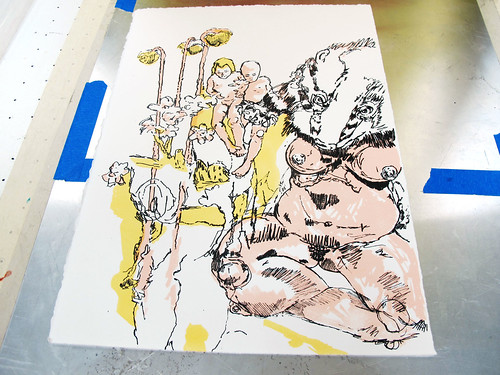
Adding the brown layer on the left to the previous four layers of color. I did two versions of this edition. The image on the left is the finished state of the “warm color” version. All of the prints began with the three layers below: black, flesh tone and yellow.
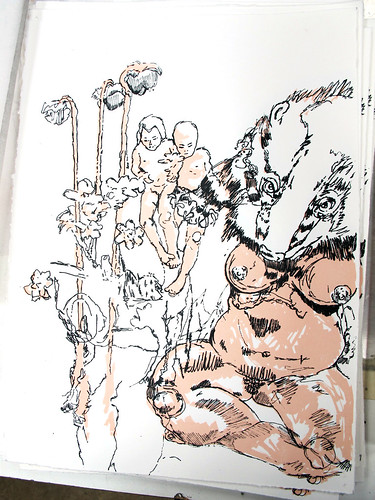
Below: The first two layers printed.
Above: Detail of the 6 color version of the edition. The green color was not a printed layer; instead, it is a mixture of overlapping transparent layers of yellow and blue.
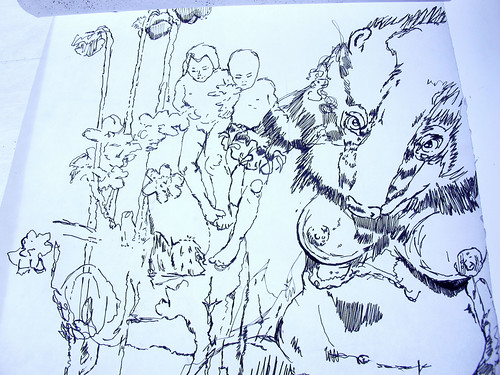
All of the films were hand drawn on tracing paper using a combination of Staedler ink pens (similar to Microns,) spray paint through cut paper stencil, brushed India ink, and sharpie marker. Above is my black or “key” layer drawing. I printed this first and then printed all of the colors on top in transparent layers to flesh out the drawing.
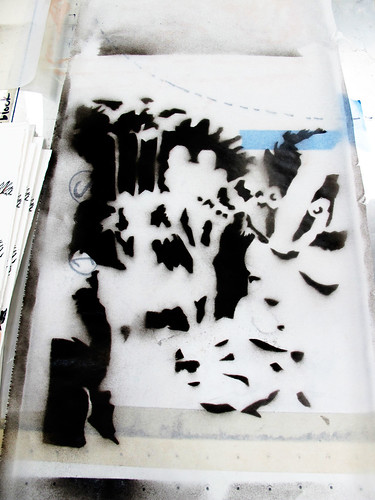
Above is the film for the blue layer on the print. Originally, I planned this layer as a cut paper stencil, which is a very low tech way of screen printing that doesn’t require emulsion. After I kept getting more and more intricate with the layer, however, I decided it would hold up better as a photographically exposed screen. In order to convert the paper stencil to film, I spray painted through the stencil onto a sheet of tracing paper. Spray paint on transparent or semi-transparent paper works well as a block-out to create a stencil for photographic emulsion screen printing film.
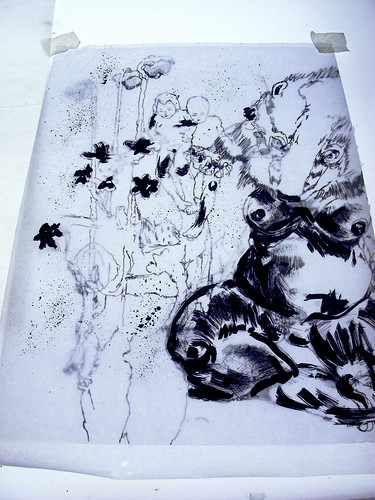
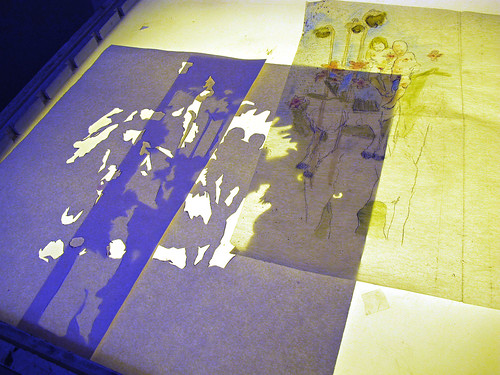
You can see two of my films overlapped on the light table above. The top layer was created with India ink, sharpie Marker and a bit of paint pen, and it was printed in red ink on the final print.
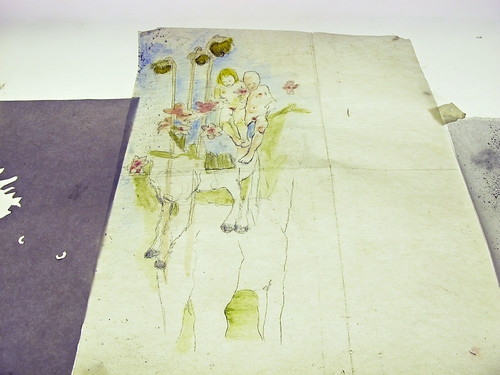
The drawing above is one I did four or five years ago. I never did anything with it because it seemed very “Henry Darger” and I didn’t know what it meant to me, really. I just drew it and put it aside with some other drawings on tracing paper without a plan. I pulled it out last week and decided to combine it with some other drawings to create my Heat Stroke print.
Above you can see the cut paper stencils I made for the blue and yellow layers. I used these as spray paint stencils to create films for photographic exposure for these layers, but they also would have worked to block the screen for a small number of prints as is. You simply adhere the stencil to a blank screen, tape out the open edges that you don’t want to print, and then squeegee away. Paper stencils make a beautiful print with a slightly darker edge to each shape.
I had a great time getting to know Melissa a little bit and learning about her punch tab registration process. I hope that our paths keep crossing in the future! I plan to post some more images soon of work by others in the class I took as well as more images from Frogman’s in general! Second week I studied relief with the Amazing Hancock Brothers. Look forward to seeing some of the innovative processes we used in relief including carving rubber erasers to make stamps!

Pingback: The Amazing Hancock Brothers « Orange Barrel Industries
Pingback: Animal Attraction: Drawings from 4,000 Animal, Bird & Fish Motifs « Orange Barrel Industries