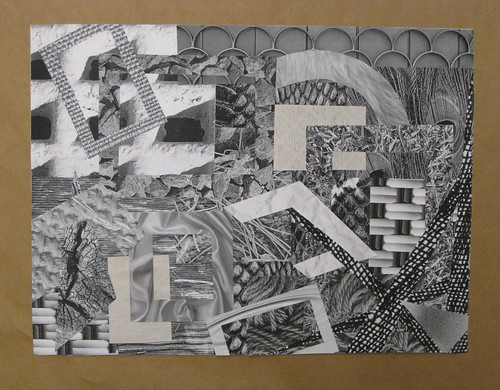
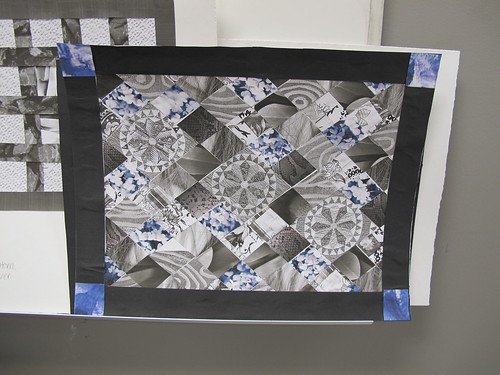
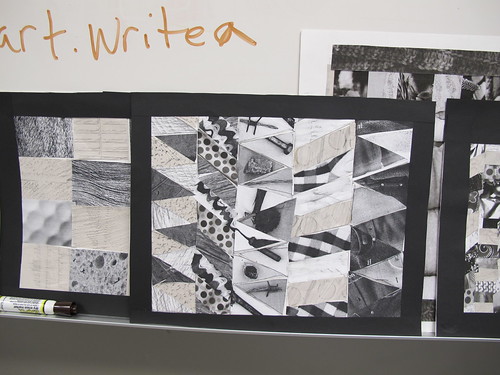
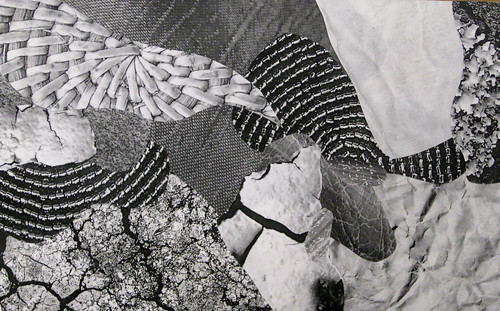
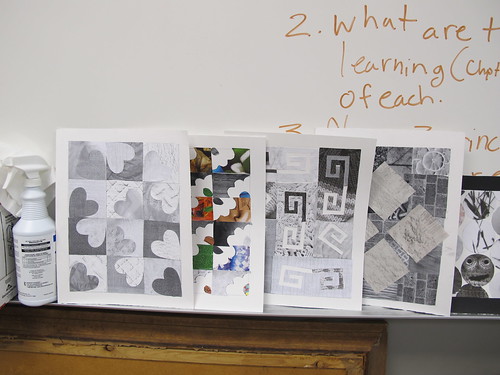
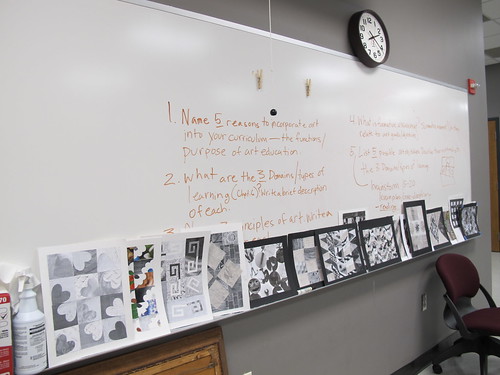
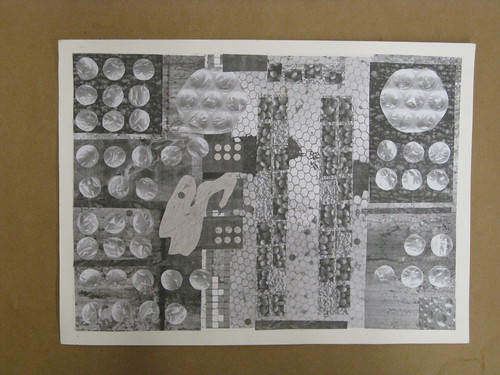
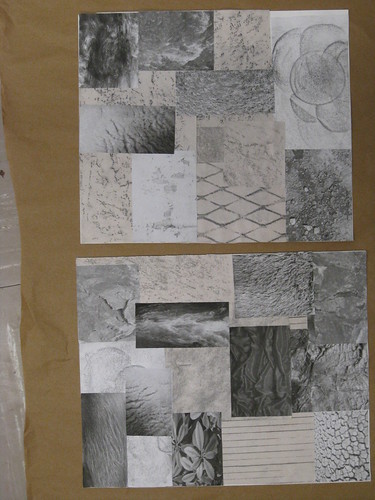
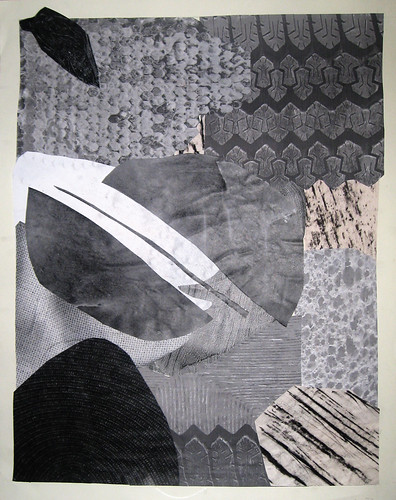
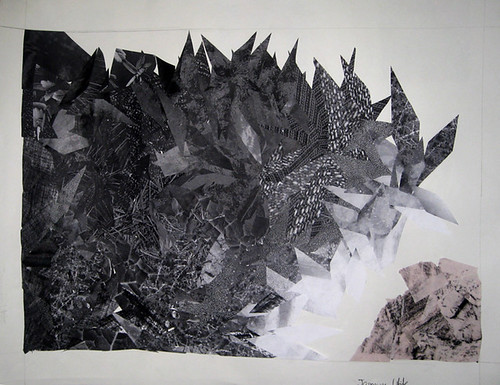
This is a project I have used in several forms with my 2-D Design students, and I just recently modified it for my course Art Materials and Techniques for the Classroom Teacher. I thought I would share it with you guys and you could make one yourself or use it as a fun project to do with your kids or your students! It works for any age level old enough to use scissors!
Materials
- 10-20 full page 8.5″ x 11″ Black and White photocopied textures from actual objects: Find interesting textures around your house and use a photocopier or scanner to “zoom” in on them.
- 10-20 full page 8.5″ x 11″ (or as close as possible) found textures from digital photographs on the web and/or magazines. Black and White or low-chroma (tinted/shaded colors that are fairly neutral).
- 10-20 rubbings on newsprint paper or other thin, warm white paper. You can use charcoal, black pastel or graphite to do the rubbings
- Scissors
- Pencil
- Ruler
- A quarter sheet of white or posterboard or other sturdy paper for backing
- Glue Stick or Elmer’s Glue
- Optional: Black and white posterboard scraps for borders, etc.
- Optional: Shape templates or shapes to trace (circles, triangles, squares, etc.) for cutting out
First, draw a frame on your posterboard with at least 1″ borders all the way around. I’ve done this project two different ways. With my 2-D Design Art Majors, I have them design a composition with basic geometric shapes cut from all of their texture sources. I have them think about warm and cool blacks and whites and how the factor of temperature can create a sense of space (warm colors pop forward, while cool colors recede.) With 2-D Design students, I generally have them draw small samples of their compositions in graphite after they are done as an exercise in reproducing pattern and texture with line and value.
With Art Education students or with younger children, you might want to show some images of quilts and/or actual quilt patterns. Here’s a great glossary of pattern terms/types with small example images: http://www.artlandia.com/wonderland/glossary/.
This can be a great jumping off point for talking about the different types of balance and symmetry. Have students sketch a pattern lightly in their frame using pencil. Then cut shapes out of their found textures and rubbings and arrange them until they are pleased with the flow of the composition. Glue in place! Easy and fun.
Here is the basic handout I start from with my 2-D Design Students. I modified it by working smaller and introducing the quilt/pattern composition element when working with my Art Education class Art Materials and Techniques for the Classroom Teacher.
I. Using charcoal and/or soft pencil (5B-8B), create rubbings on NEWSPRINT paper from your surroundings. Consider grates, tree bark, brick, concrete, rocks, tombstones, corrugations, etc. ANYTHING that will yield an interesting in unique texture: 20 rubbings total, each from a different source.
II. Use the computer to print out 20 textures. Consider zooming in on your own photographs, taking selections from imagery online (check out flickr.com, for example), etc. Be creative. Find the most diverse and interesting textures possible, and print them out full page (8.5” x 11”) with as small a border as possible.
III. Use the photocopier to “capture” 20 more textures in black and white. Consider household objects like interesting fabrics, plastics, crumpled papers, interesting clothing and tinfoil. Consider natural objects such as dirt, rocks, wood grain, etc. Use the photocopier as your “camera” to view intense detail in black and white. Be creative: look around you and try to come up with something you think no one else in the class will think of.
IV. After collecting your 60 fantastic textures, you are ready to collage. Prepare 3 sheets of good paper (at least 18” x 24” cotton rag, Bristol board or other sturdy paper) with a frame evenly drawn in hard pencil at least 1” in from each edge of the paper, no smaller than 16” x 20”.
V. Create 3 texture collages with dynamic compositions. Consider: Unity, Harmony, Variety, Pattern, Movement, Implied Line, Direction, and Warm & Cool Blacks/Whites.
VI. Use your view finder to isolate a square area of each texture collage that shows lots of movement and variety as well as some harmonious relationship.
VII. On a larger sheet of paper (at least 18” x 24”,) use a ruler to draw 3 squares 5” x 5” with space between each.
VIII. In each of the 3 squares, reproduce the 3 cropped areas from your texture collages using pencils. Really work to try and emulate the textures through variation of mark, pressure, line quality. Think about the implied shapes in between areas of patterning.
