It’s that time of year! Pumpkins and squash and other delicious fall vegetables. Plus, it’s the time of year where everyone eschews the concept of “tacky neighbor” and decorates their house to high heaven (low hell?) with fake spider webs, bright orange (a color normally repulsive to the masses) and all sorts of evil witch-craftery knobs and bobs. I love it!
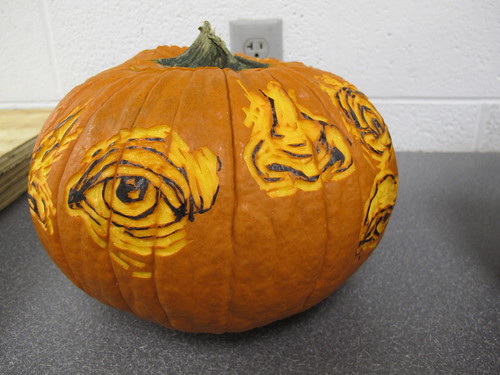
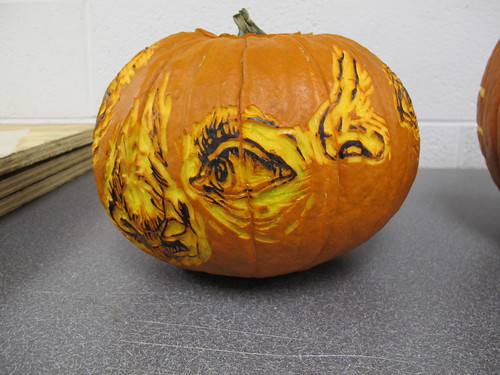
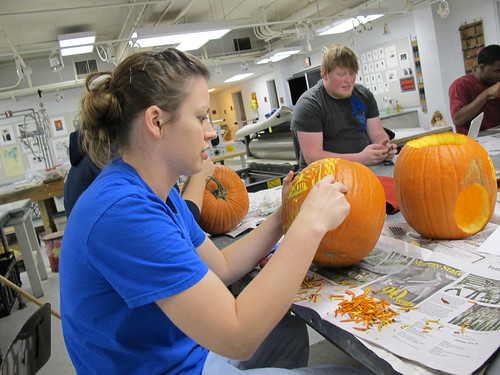
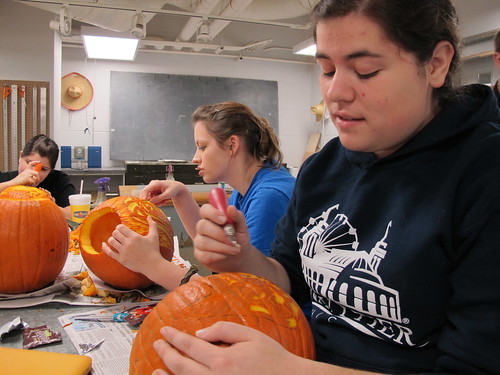
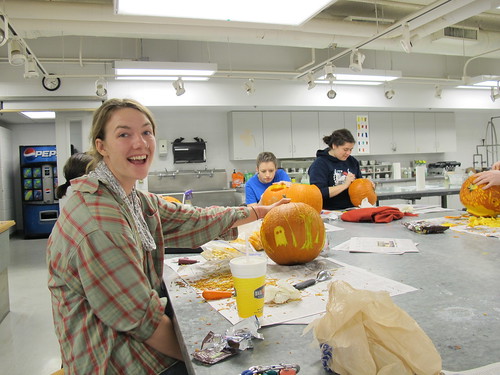
The Murray State University Print club took this opportunity to carve up some excellent pumpkins. We’re going to attempt to pull some prints from their surface, as well. I’ll let you know how that goes. But the pumpkins themselves were fun! And I baked up all of the Pepitas, pumpkin seeds. Perhaps we can sell them at the upcoming print sale? Yes! I hope so. Since I know you’re itching to carve your own pumpkin and toast up the delicious and healthy seeds, I’ll get to the DIY part of this post.
Pumpkin Carving, Relief Printmaking Style
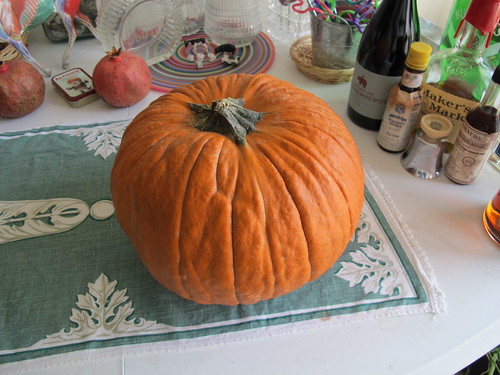
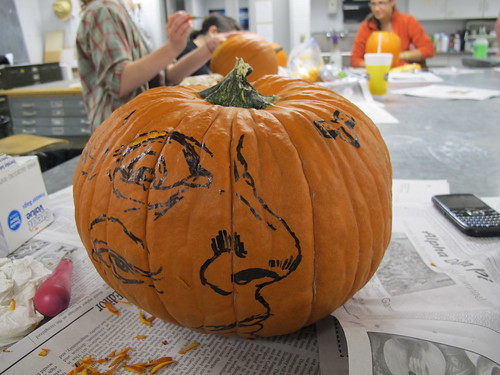
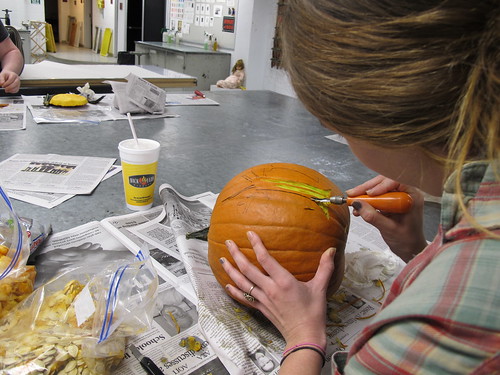
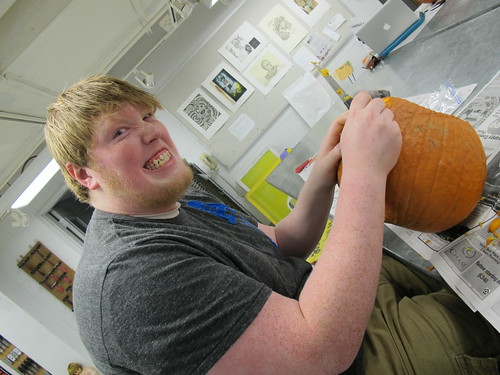
First, select a pumpkin that matches your personality. I choose short, stumpy and bumpy. Then, draw some designs onto your pumpkin with black sharpie marker.
Next, grab a Speedball linoleum cutter and get to work! You can get so much more detail with this tool rather than using just a sharp knife. Feel free to supplement your cuts with a sharp exacto knife or matt knife, if you want to cut all the way through. If you hollow out your pumpkin and thin the walls behind your image, however, light will still show through your design even if you don’t cut holes all the way through your pumpkin.
Finally, cut a lid for your pumpkin creation using a sharp bread knife. Angle the knife about 30 to 45 degrees towards the pumpkin stem as you cut around the stem. This will keep your lid from falling through the opening in the pumpkin when you place it back on.
Sometimes people cut the lid and gut the insides before drawing and carving their design, but I find it easier to gut after drawing/carving. That way, the pumpkin walls remain stable while you put pressure on them.
If you want to remove the sharpie marks from your pumpkin, simple rubbing alcohol on a paper towel should do the trick. If not, you can always pick up its stronger cousin, denatured alcohol, from your local hardware store. It’s useful stuff to have around for de-greasing and removing sharpie marks. I liked the sharpie on my pumpkin, however, so I left it there for posterity.
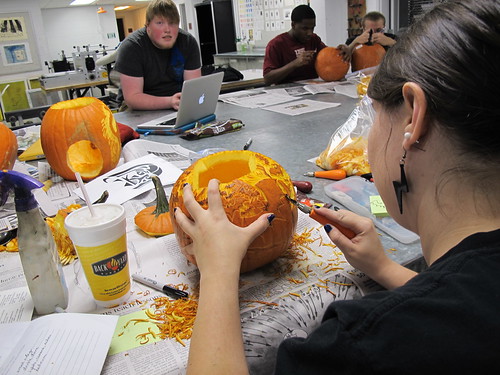
Remove the seeds and squishy, stringy stuff with a sturdy spoon or ice cream scoop. Place the seeds and strings into a ziplock bag and refrigerate for later. Carefully thin down the inside wall of your pumpkin behind your design using a knife and/or your ice cream scoop. This allows more light to pass through your carved design.
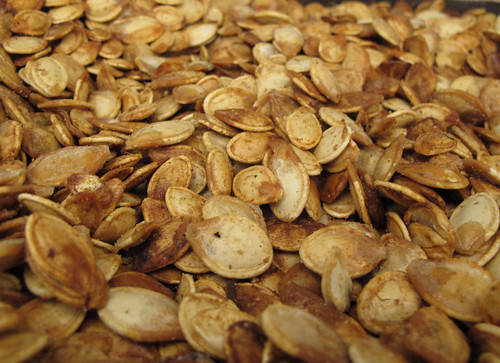
Delicious Pepitas
So easy! And so yummy!
First, rinse the seeds in a colander in cold water. Squeeze the masses of stringy pulp with seeds attached between your thumb and fingers in your palm. This motion releases the seeds from their slimy, stringy base. Discard the string slime.
Ingredients
- olive oil
- kosher salt
- freshly ground black pepper
- garlic powder
- cayenne pepper
Toss the cleaned seeds in olive oil in a cast iron skillet or on a toast pan. Add a little salt and stir. Bake in the oven at 350 degrees until crispy. Add remaining ingredients (including more salt to taste), and let the seeds cool before eating. The seeds will have a light brown tinge to them when done.
Easy peasy! You can try other toppings, as well, including brown sugar, maple syrup, dill, lemon pepper, etc. Be creative!
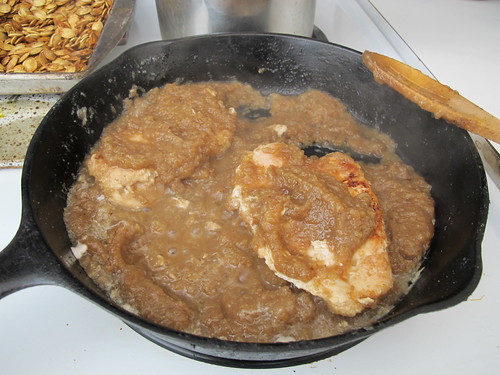
On the side I’m cooking some chicken breasts with pear Bourbon puree. Yummy!
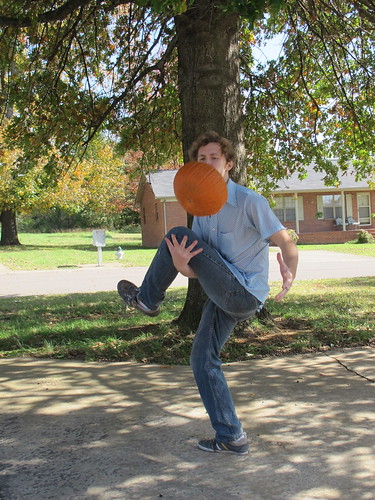
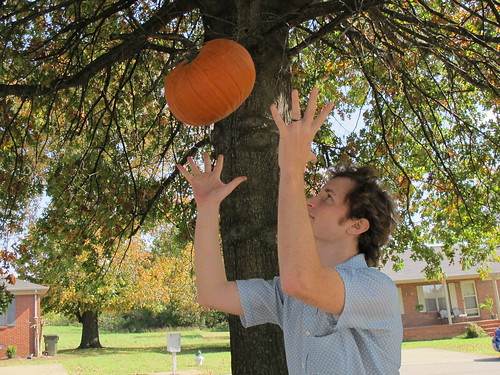
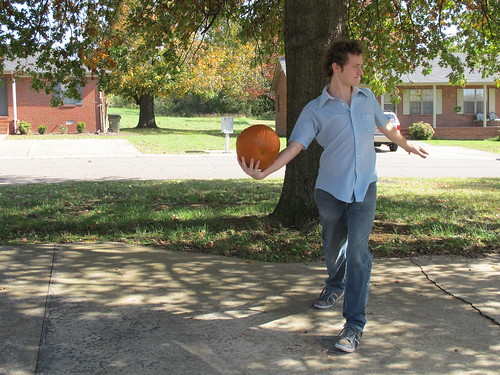
Pumpkin Olympics
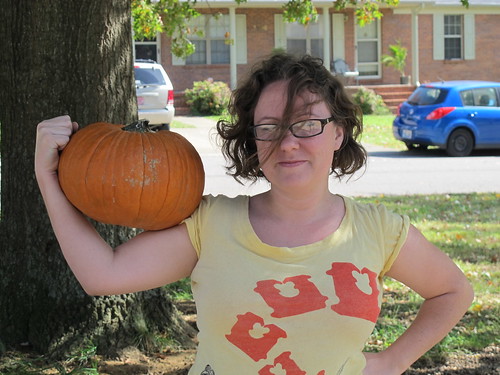
Pumpkins provide great exercise opportunities! And I’m only partially kidding!! I walked 2 miles to school with one in my backpack (along with my laptop and some heavy books,) and it surely was a workout!
Check out my pumpkin guns! And thanks for reading… Let us know if you have any special recipes for spicing your pumpkin seeds or if you have any carving tips! Happy Halloween and Happy Fall!
