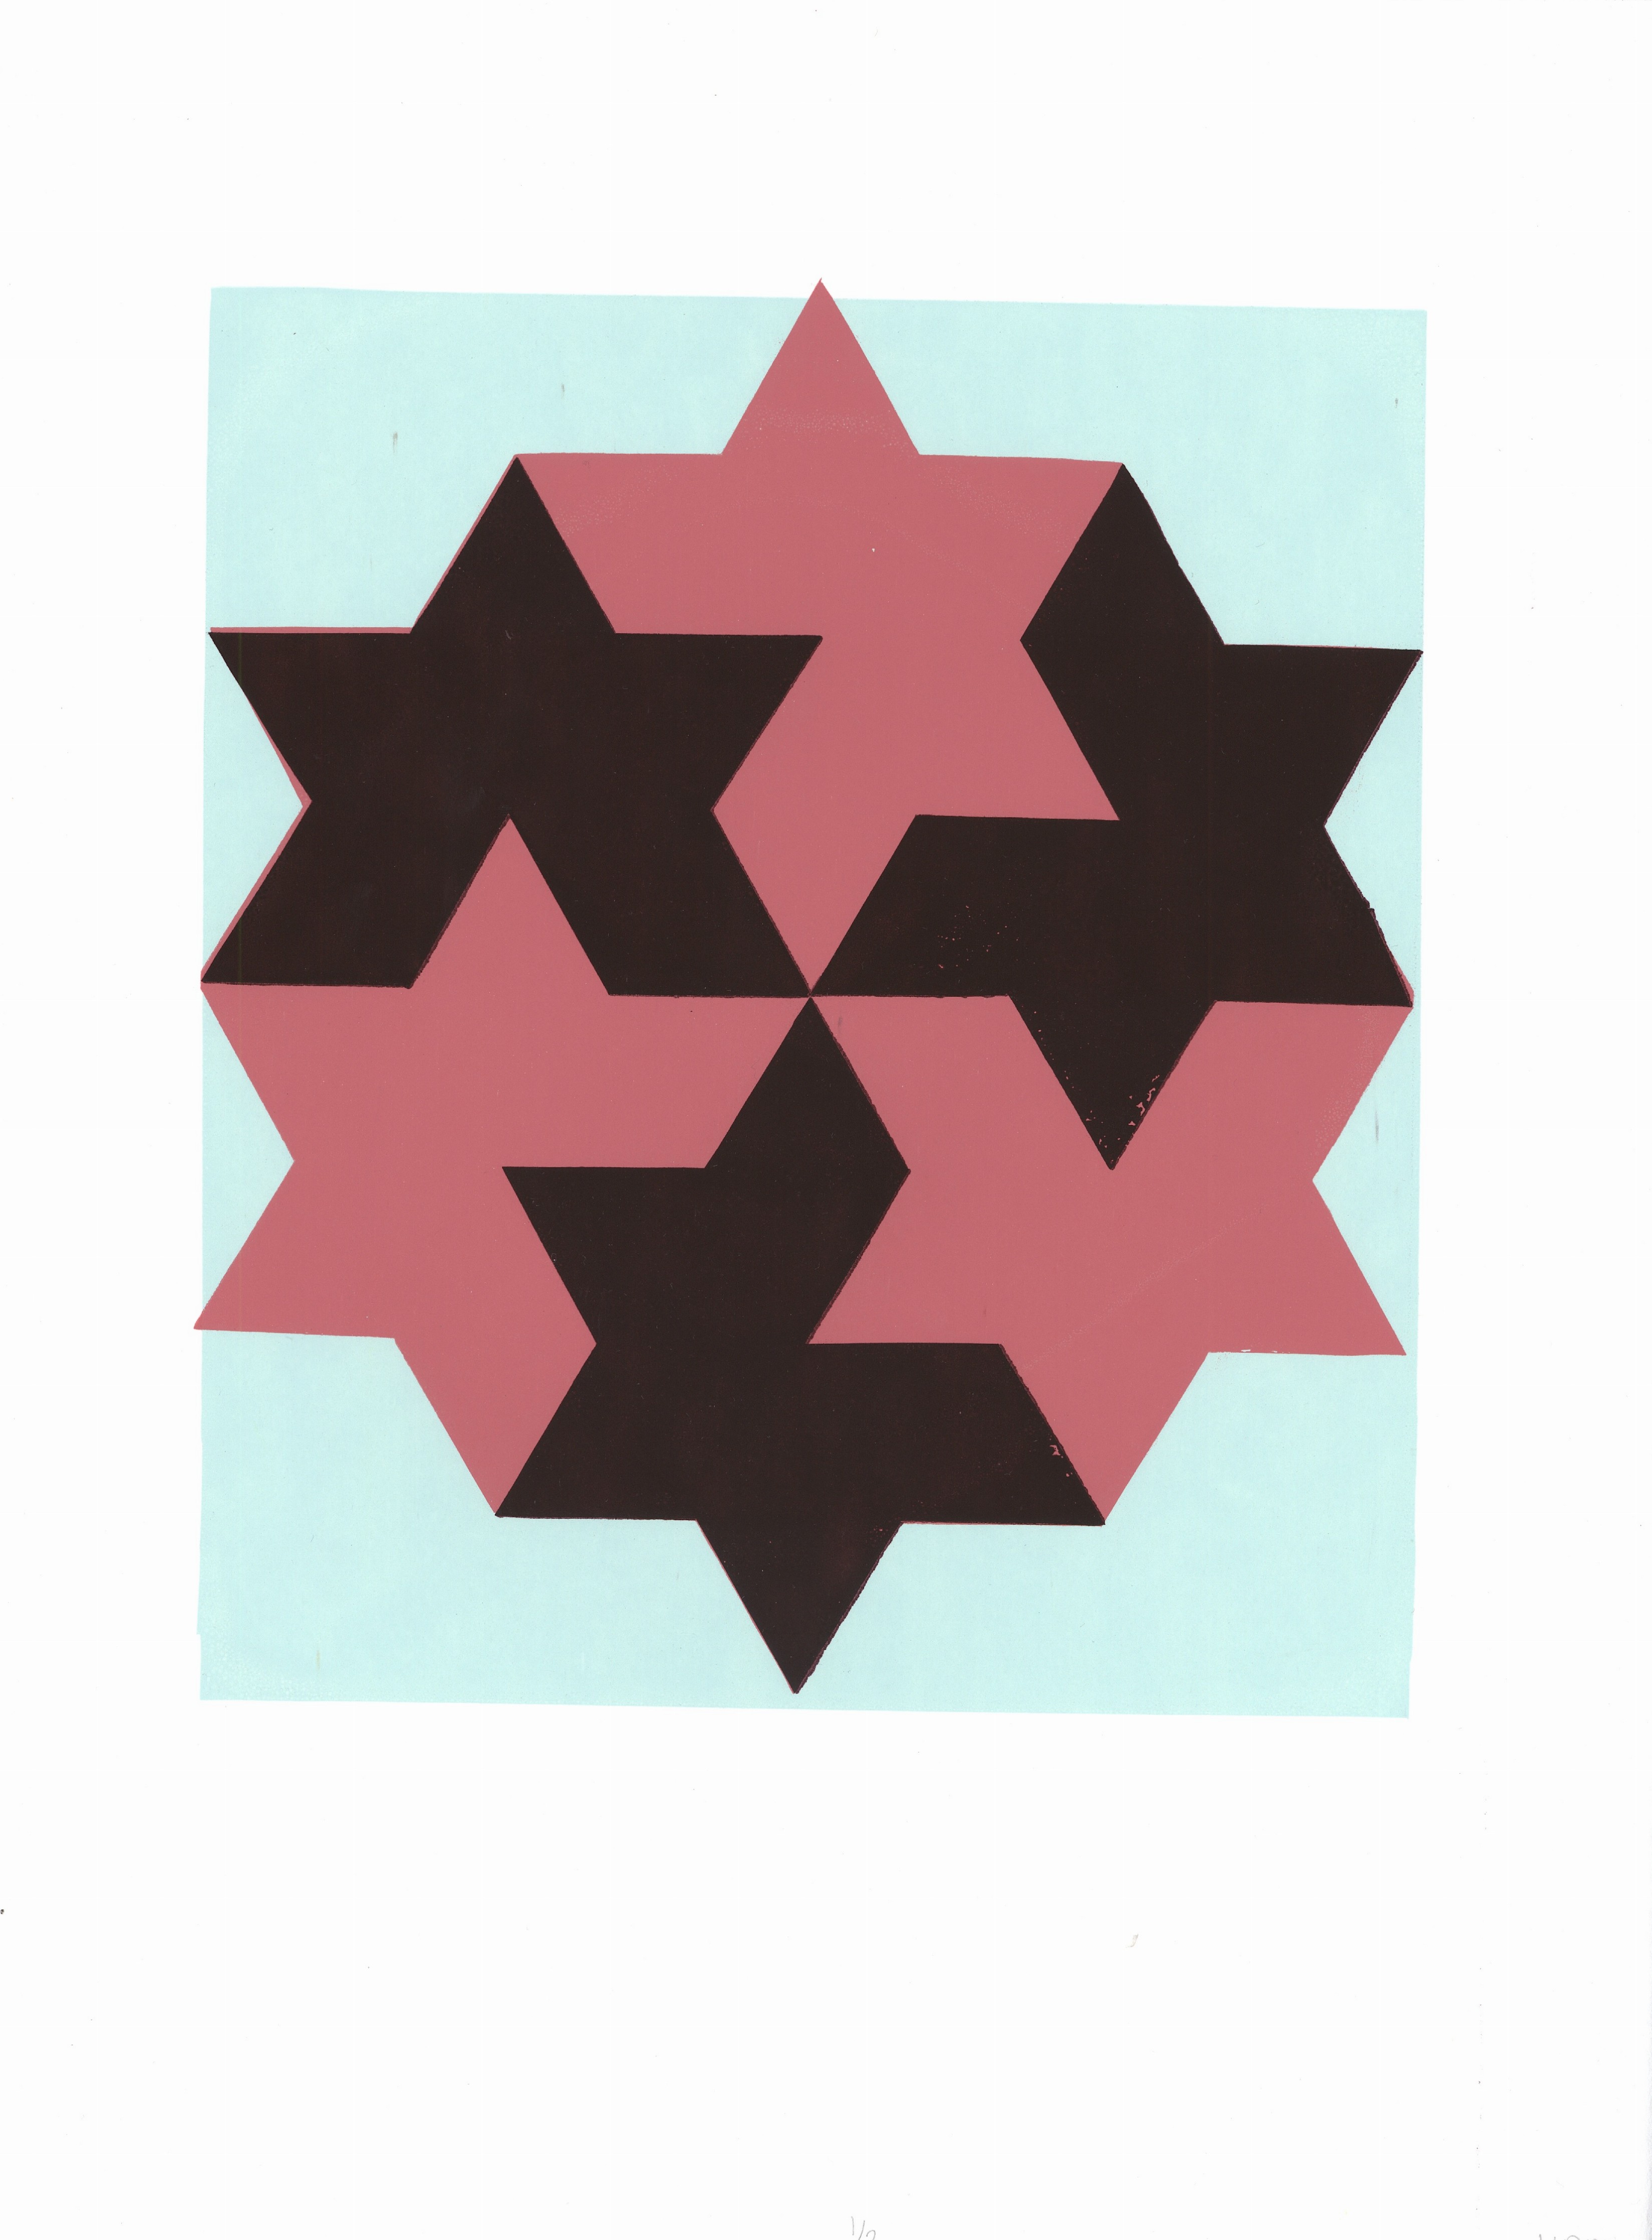
Kayla Rademacher
Hand-cut Stencil Screenprint
Fall 2015
This post has been written for a workshop I’m teaching at Southeast Missouri State University as part of Art Academy, July 13th-14th. If you are interested in easy, fast, and green ways to start screenprinting at home, check out our post for our last screenprinting workshop at Tennessee Governor’s School for the Arts, particularly the section on hand-cut stencils.
Art Academy Workshop: Hand Cut Stencil Screenprinting
Assistant Professor Hannah March Sanders
July 13th-14th 3:00pm-6:00pm
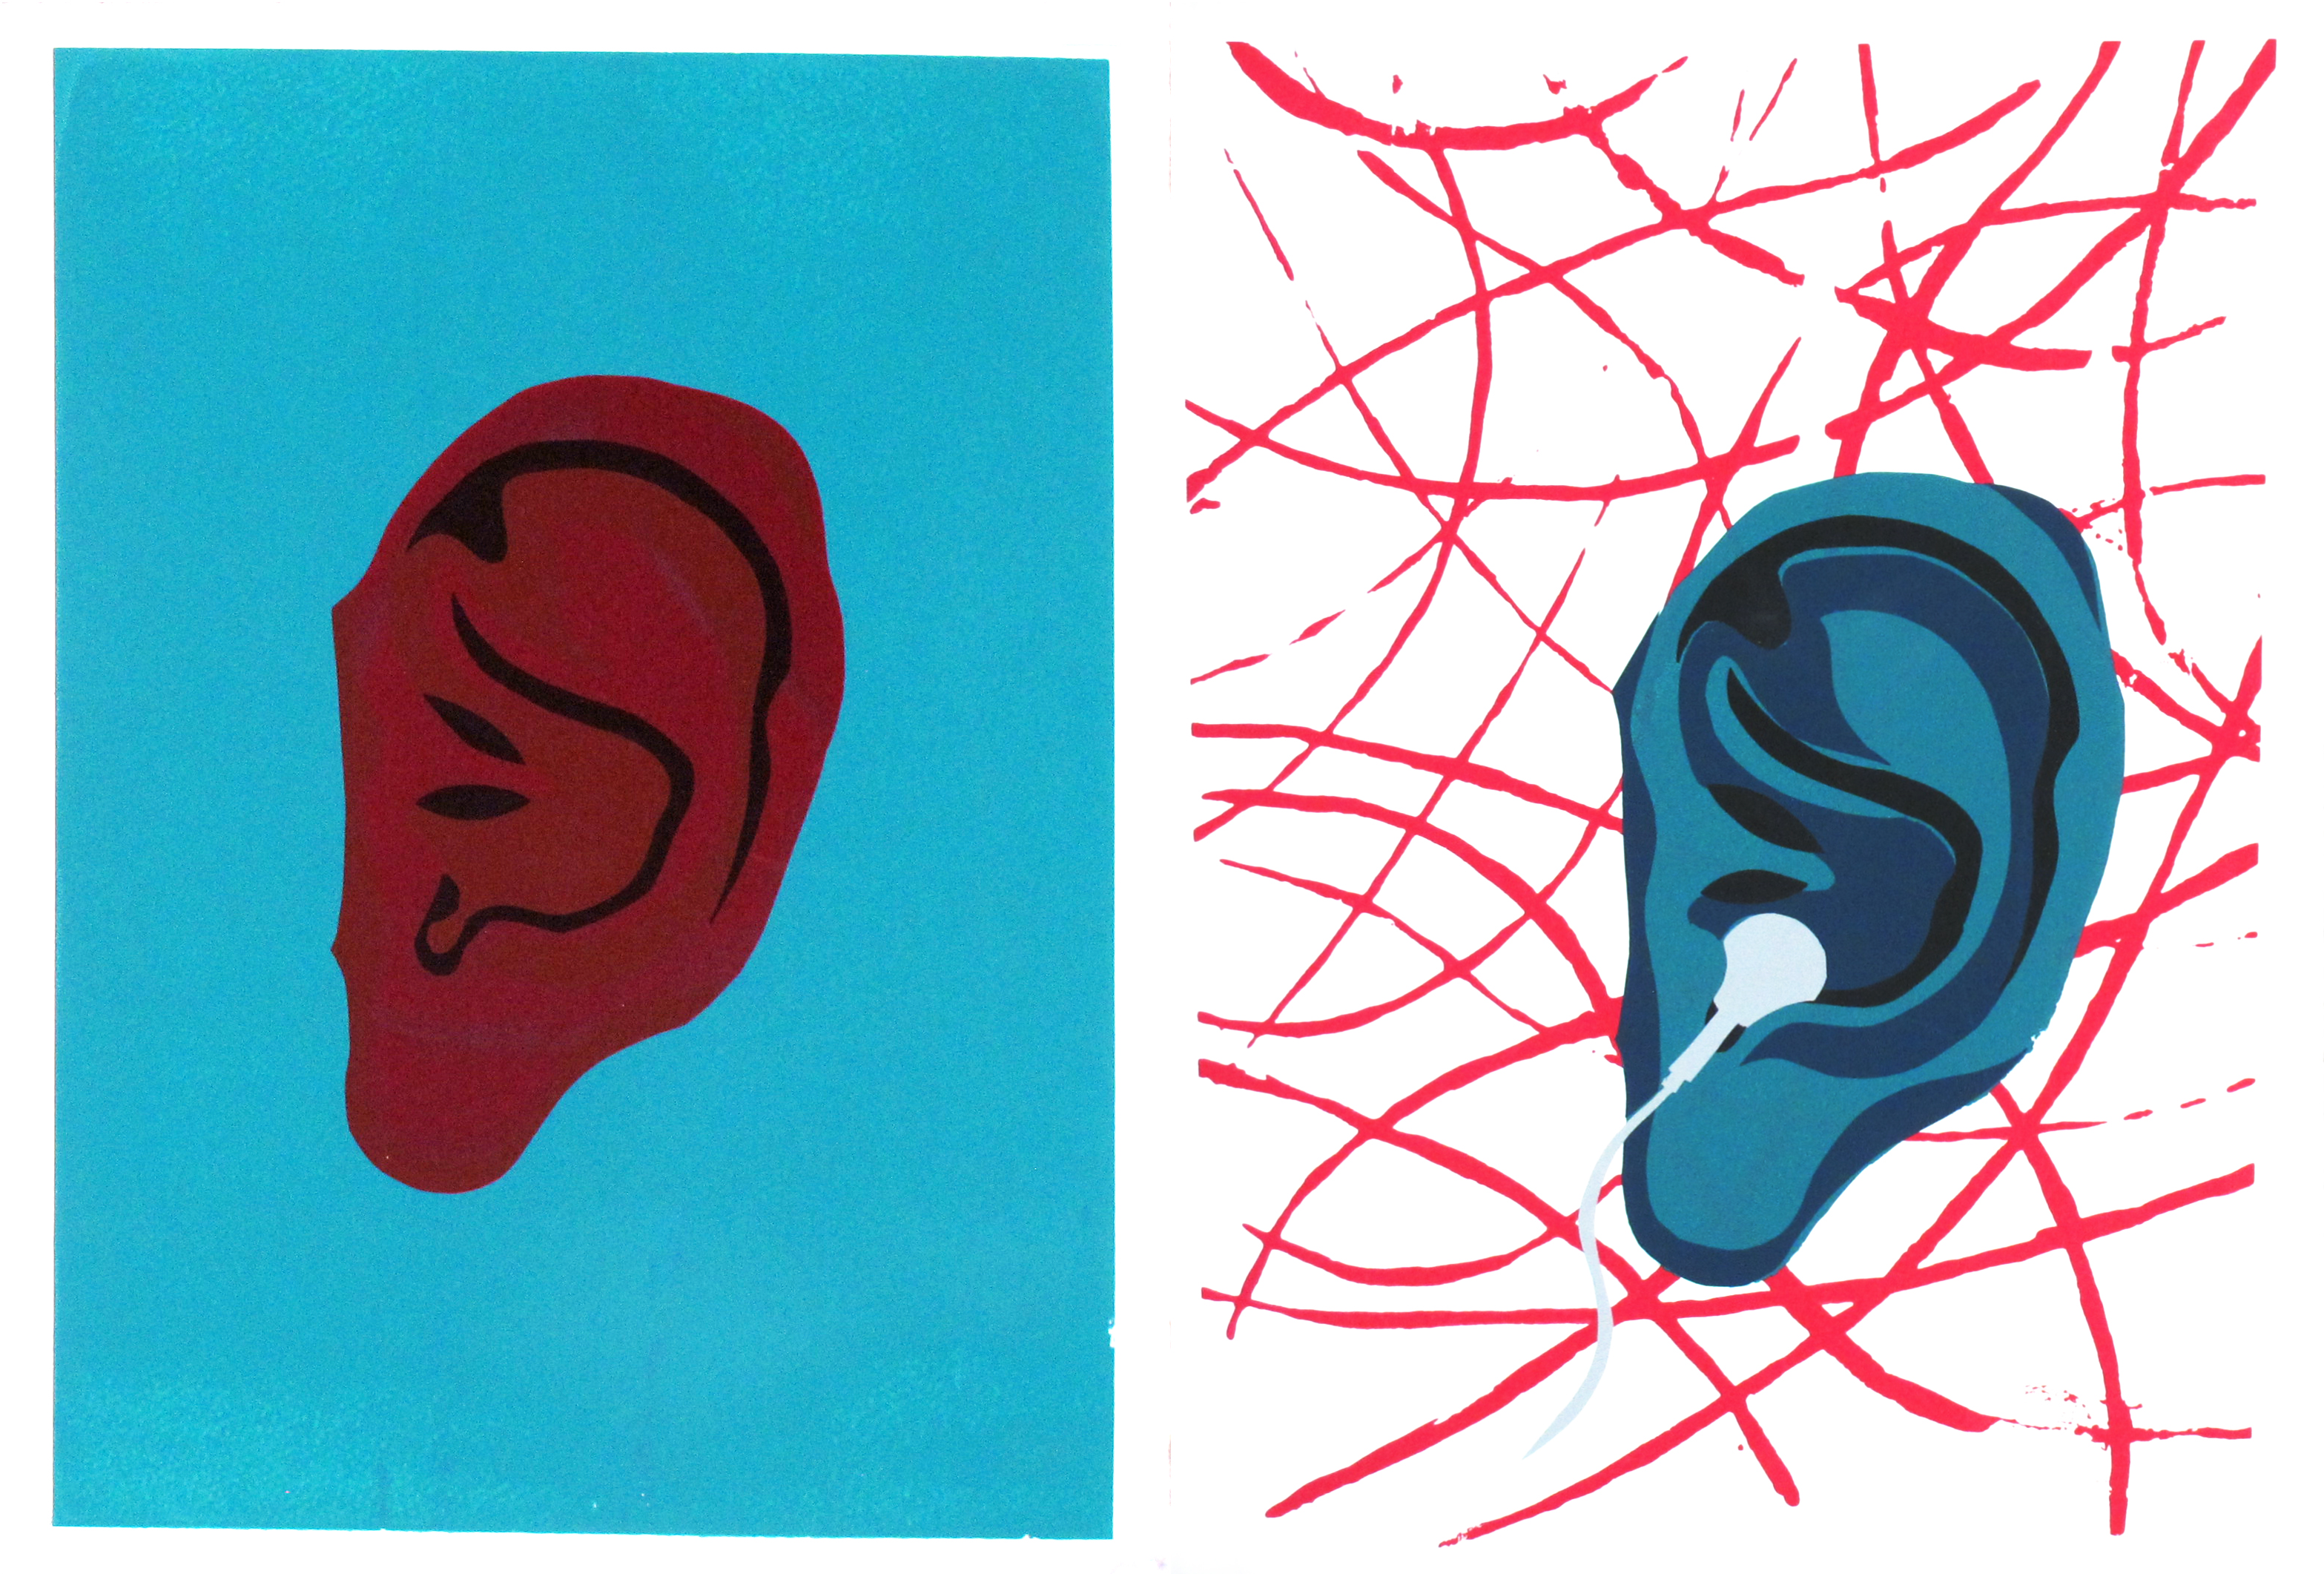
Megan Stanley
Screenprints created using hand-cut stencils, drawing fluid, and screenfiller
Fall 2014
Introduction: Screenprinting, also known as “Silkscreen” or “Serigraphy” is a stencil based process used for producing multiples of an image, or an edition, on a wide range of surfaces including paper, fabric, walls, etc. The process can express brilliant colors ranging from large shapes to fine lines, and even photographically and digitally generated imagery. In this Workshop, we will cover the most fast, affordable, green, and easy form of screenprinting with hand cut stencils.
Objectives: Through the presentations, demonstrations and activities in this workshop, participates will:
• Recognize the basic principles of screenprinting and be introduced to hand cutting paper stencils for use with the screen.
• Observe and participate in demonstrations on the processes of preparing and adhering stencils, color mixing, printing, and cleanup.
• Visualize their own shape-based imagery utilizing stencil screenprinting.
• Learn about curating an edition of prints for presentation and trading!
• If time allows: Learn the processes of screen filler and drawing fluid
Edition Size: 3-5 Prints
Paper Size: Up to 11” x 15”
Plate Size: Up to 11” x 15”
Medium/Techniques: hand-cut stencils printed by hand using screenprinting techniques in color.
Design Focus/Elements/Principles: Color mixing, layering, transparency, shape.
Image Size: Your choice within the paper size. You can have borders or make a bleed print.
Supplies Each Student Will Receive: use of a 196/200 mesh screen for a day, contact paper & newsprint paper for stencil making and proofing, 1 sheet of 22” x 30” Stonehenge Paper for editioning.
Shared Supplies & Equipment: masking tape; rags/paper towels; pencils/pens; rulers; sponges; water bowls; exacto knives + blades; cutting mats; squeegees; printing hinges; spray booth for cleaning out screens; spatulas for ink mixing; range of water-based screenprinting inks; soap + water spray for clean-up.
Timeline:
Day 1:
• Introductions, Print Viewing
• Demonstration: Stencil Preparation and color mixing.
• Demonstration: Paper Preparation and Registration
• Demonstration: Printing and clean-up.
• Remainder of time + Homework: Get to cutting stencils and mixing colors!
Day 2:
• Group Activity: Talk about student stencils/imagery
• Team Activities: Students will work on mixing colors, setting up registration, and printing in pairs or teams of 3 to produce a small edition of prints
• Wrap Up Activity: Curating prints, scanning prints if desired, trading actual prints or digital images of their new artworks!
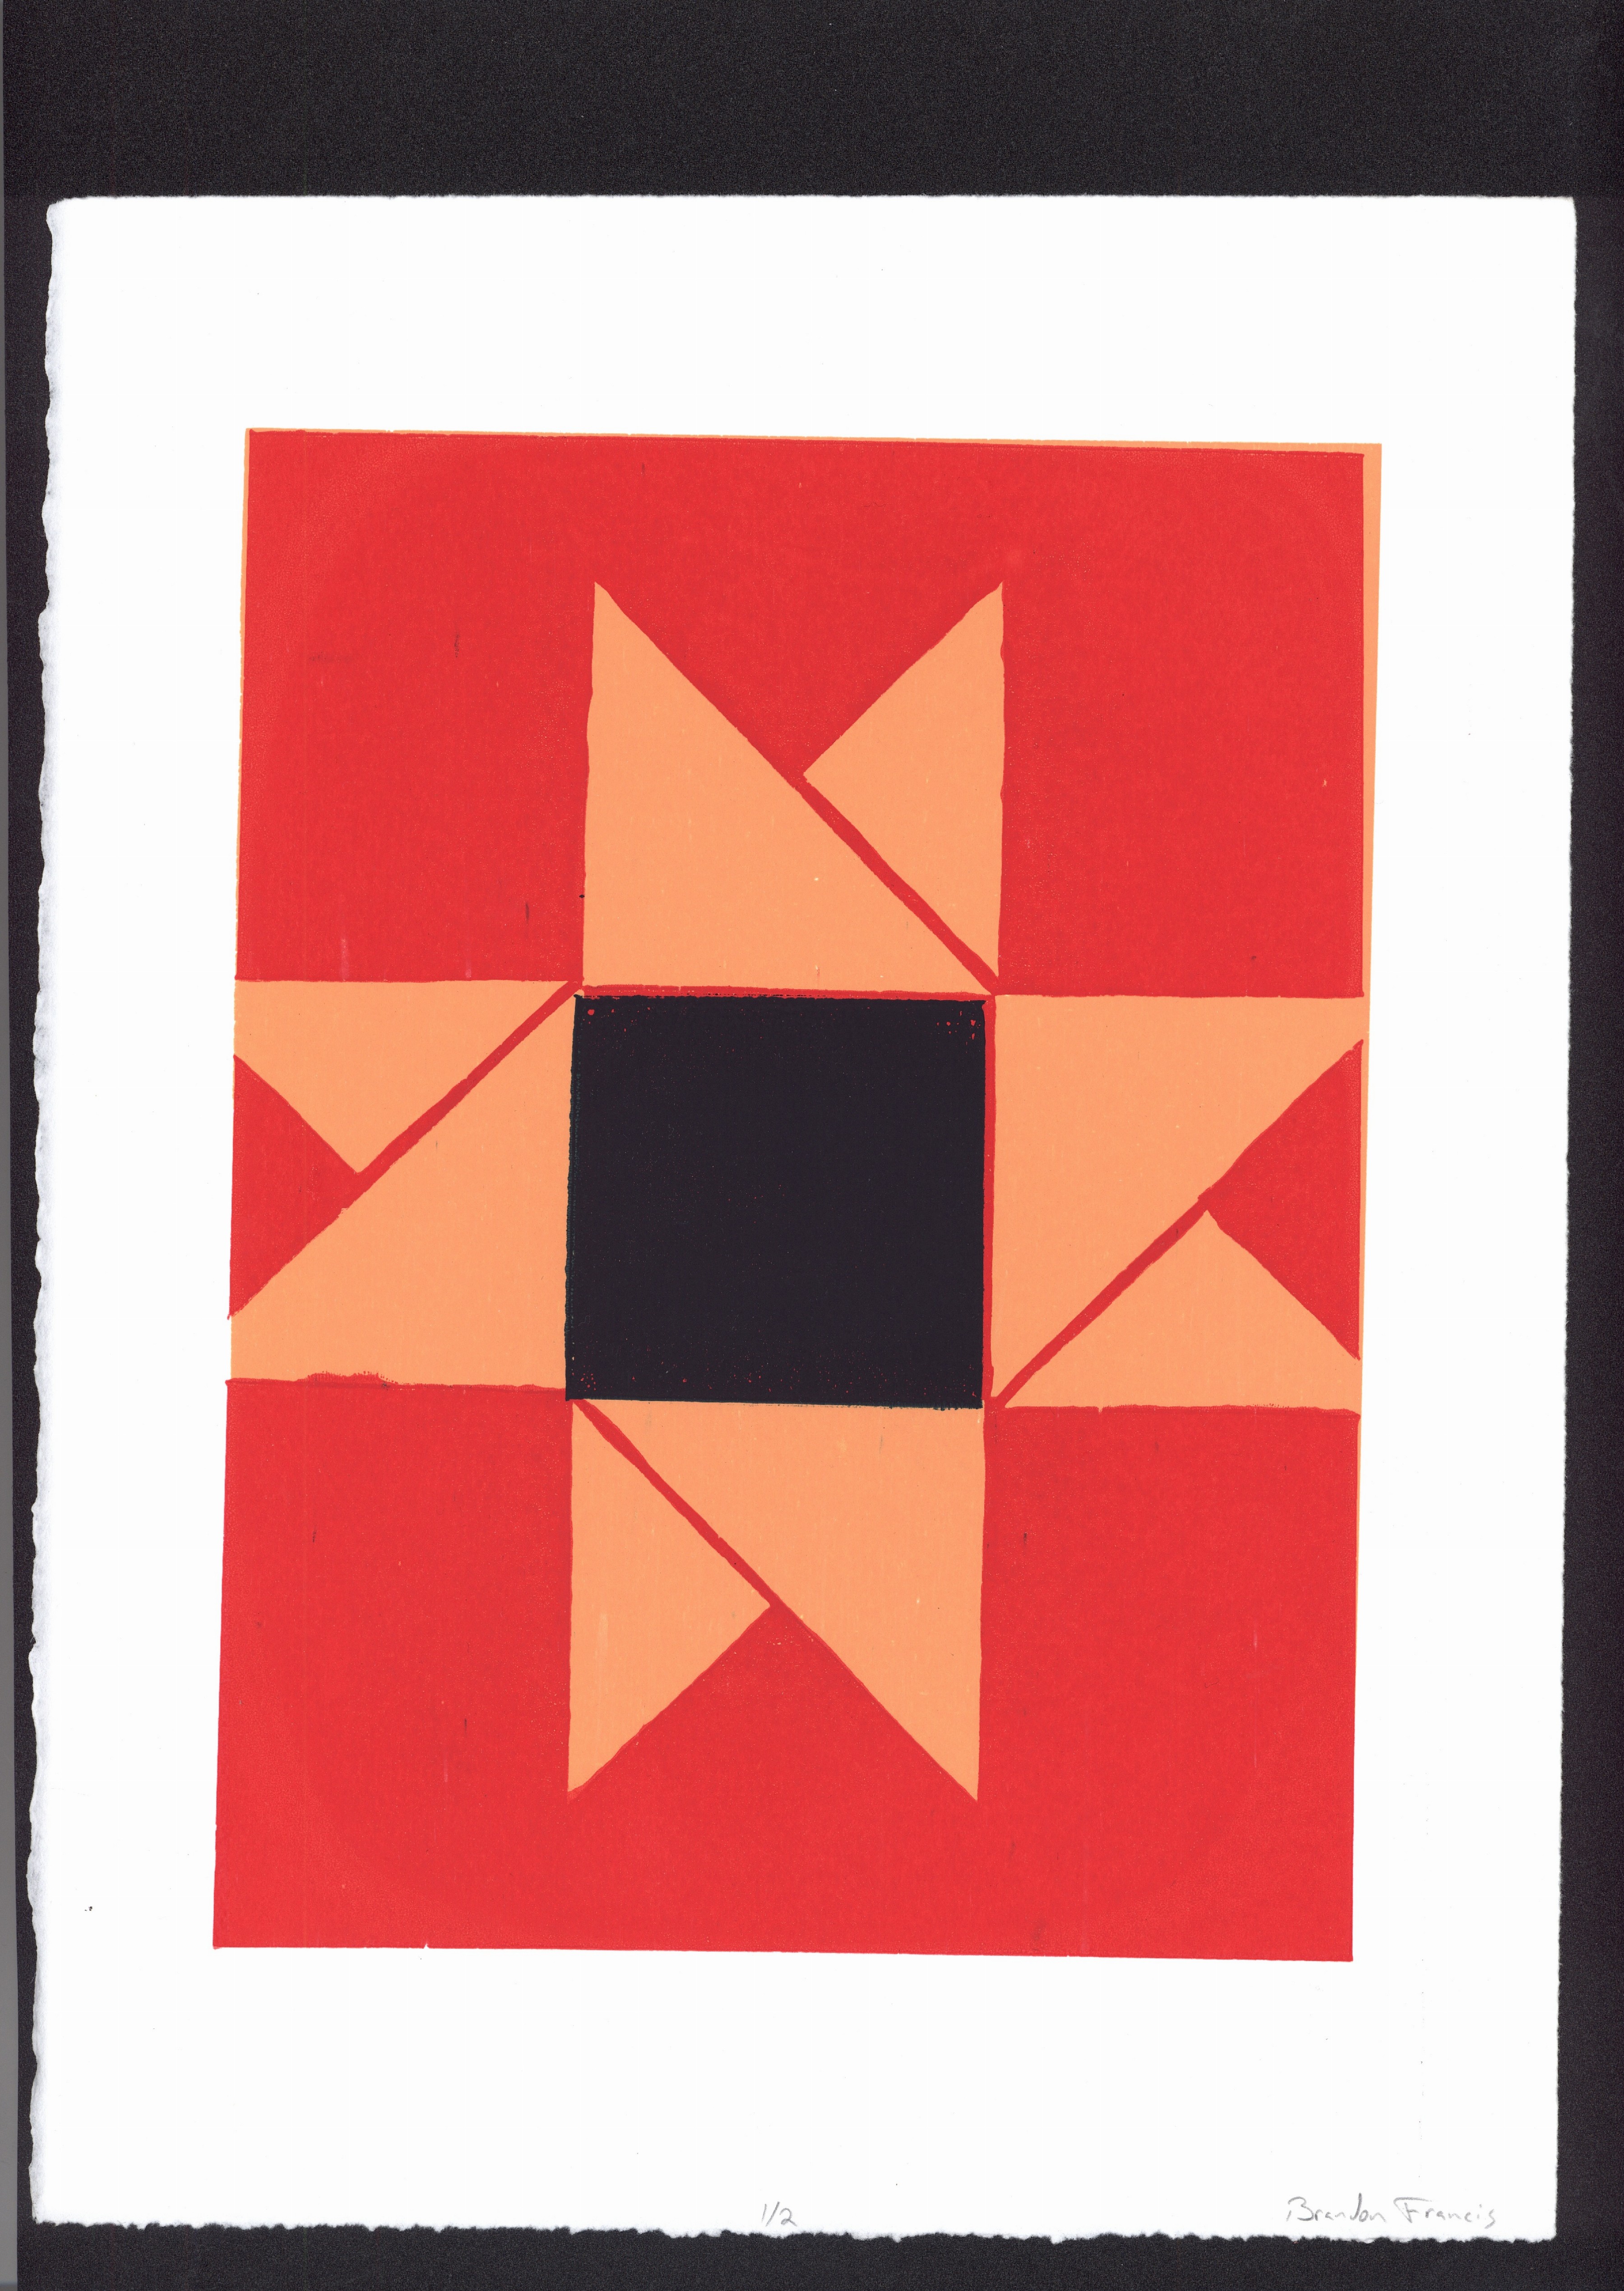
Brandon Francis
Hand-cut Stencil Screenprint
Fall 2015
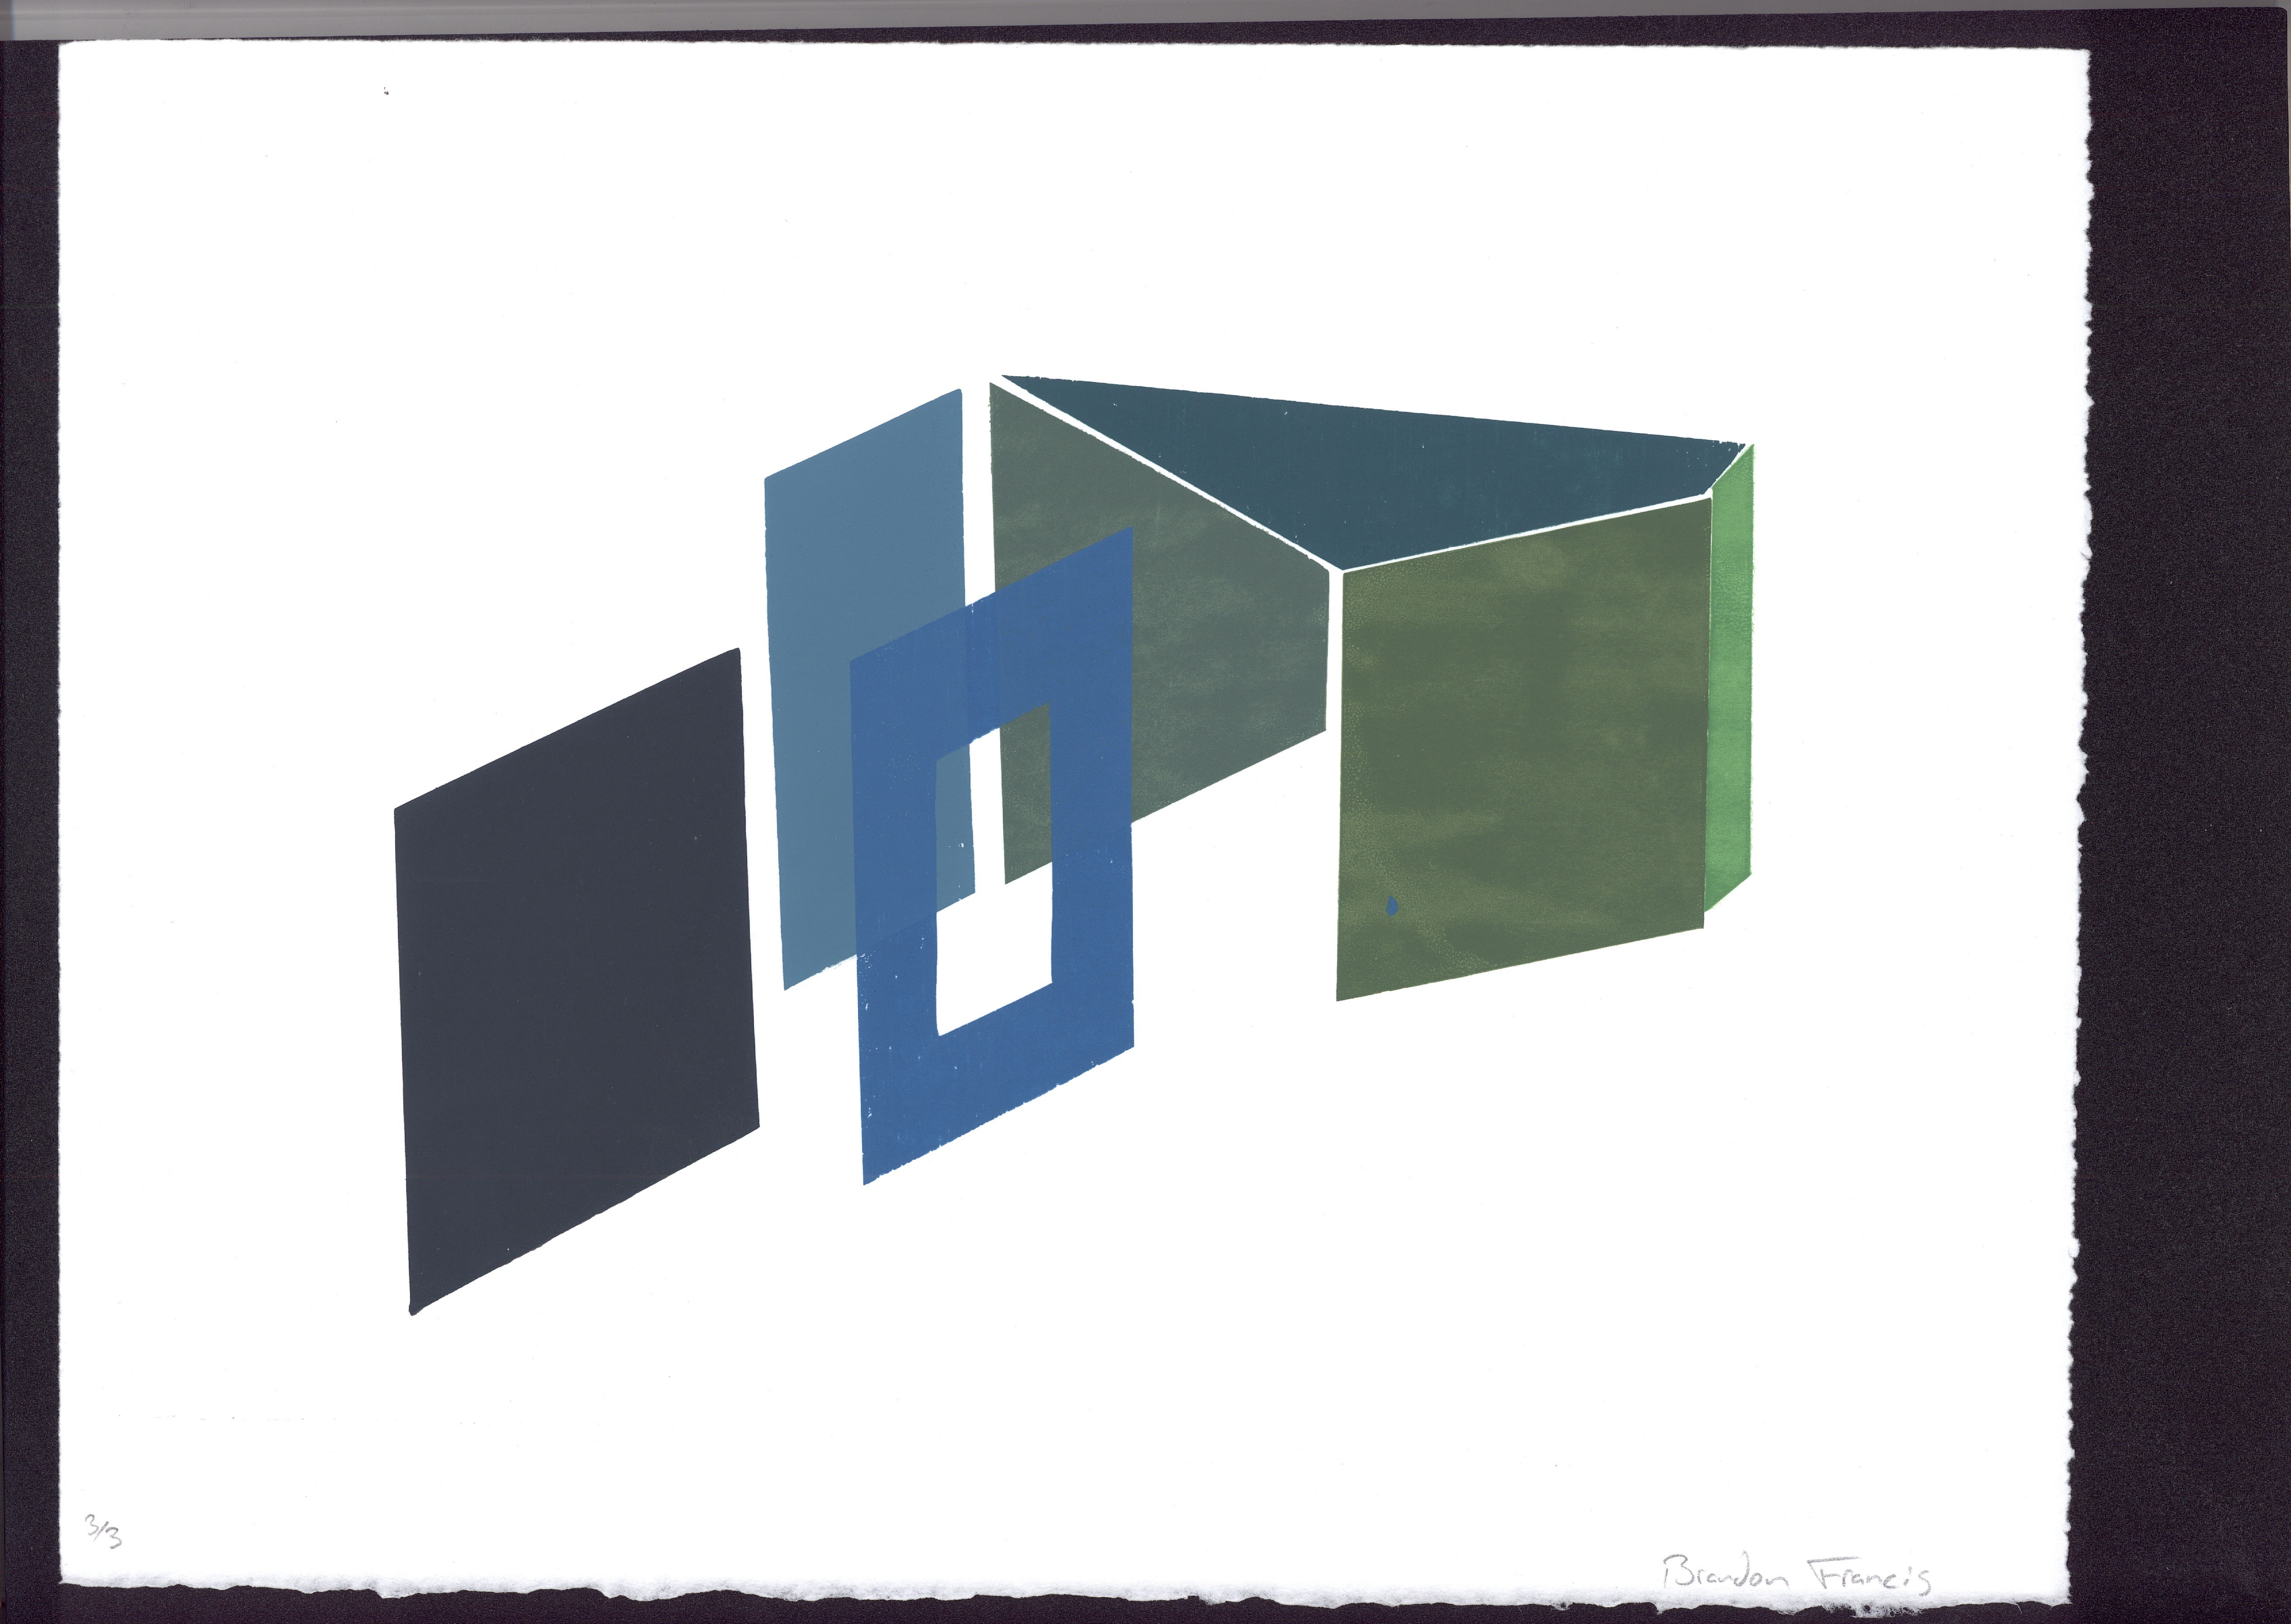
Brandon Francis
Hand-cut Stencil Screenprint
Fall 2015
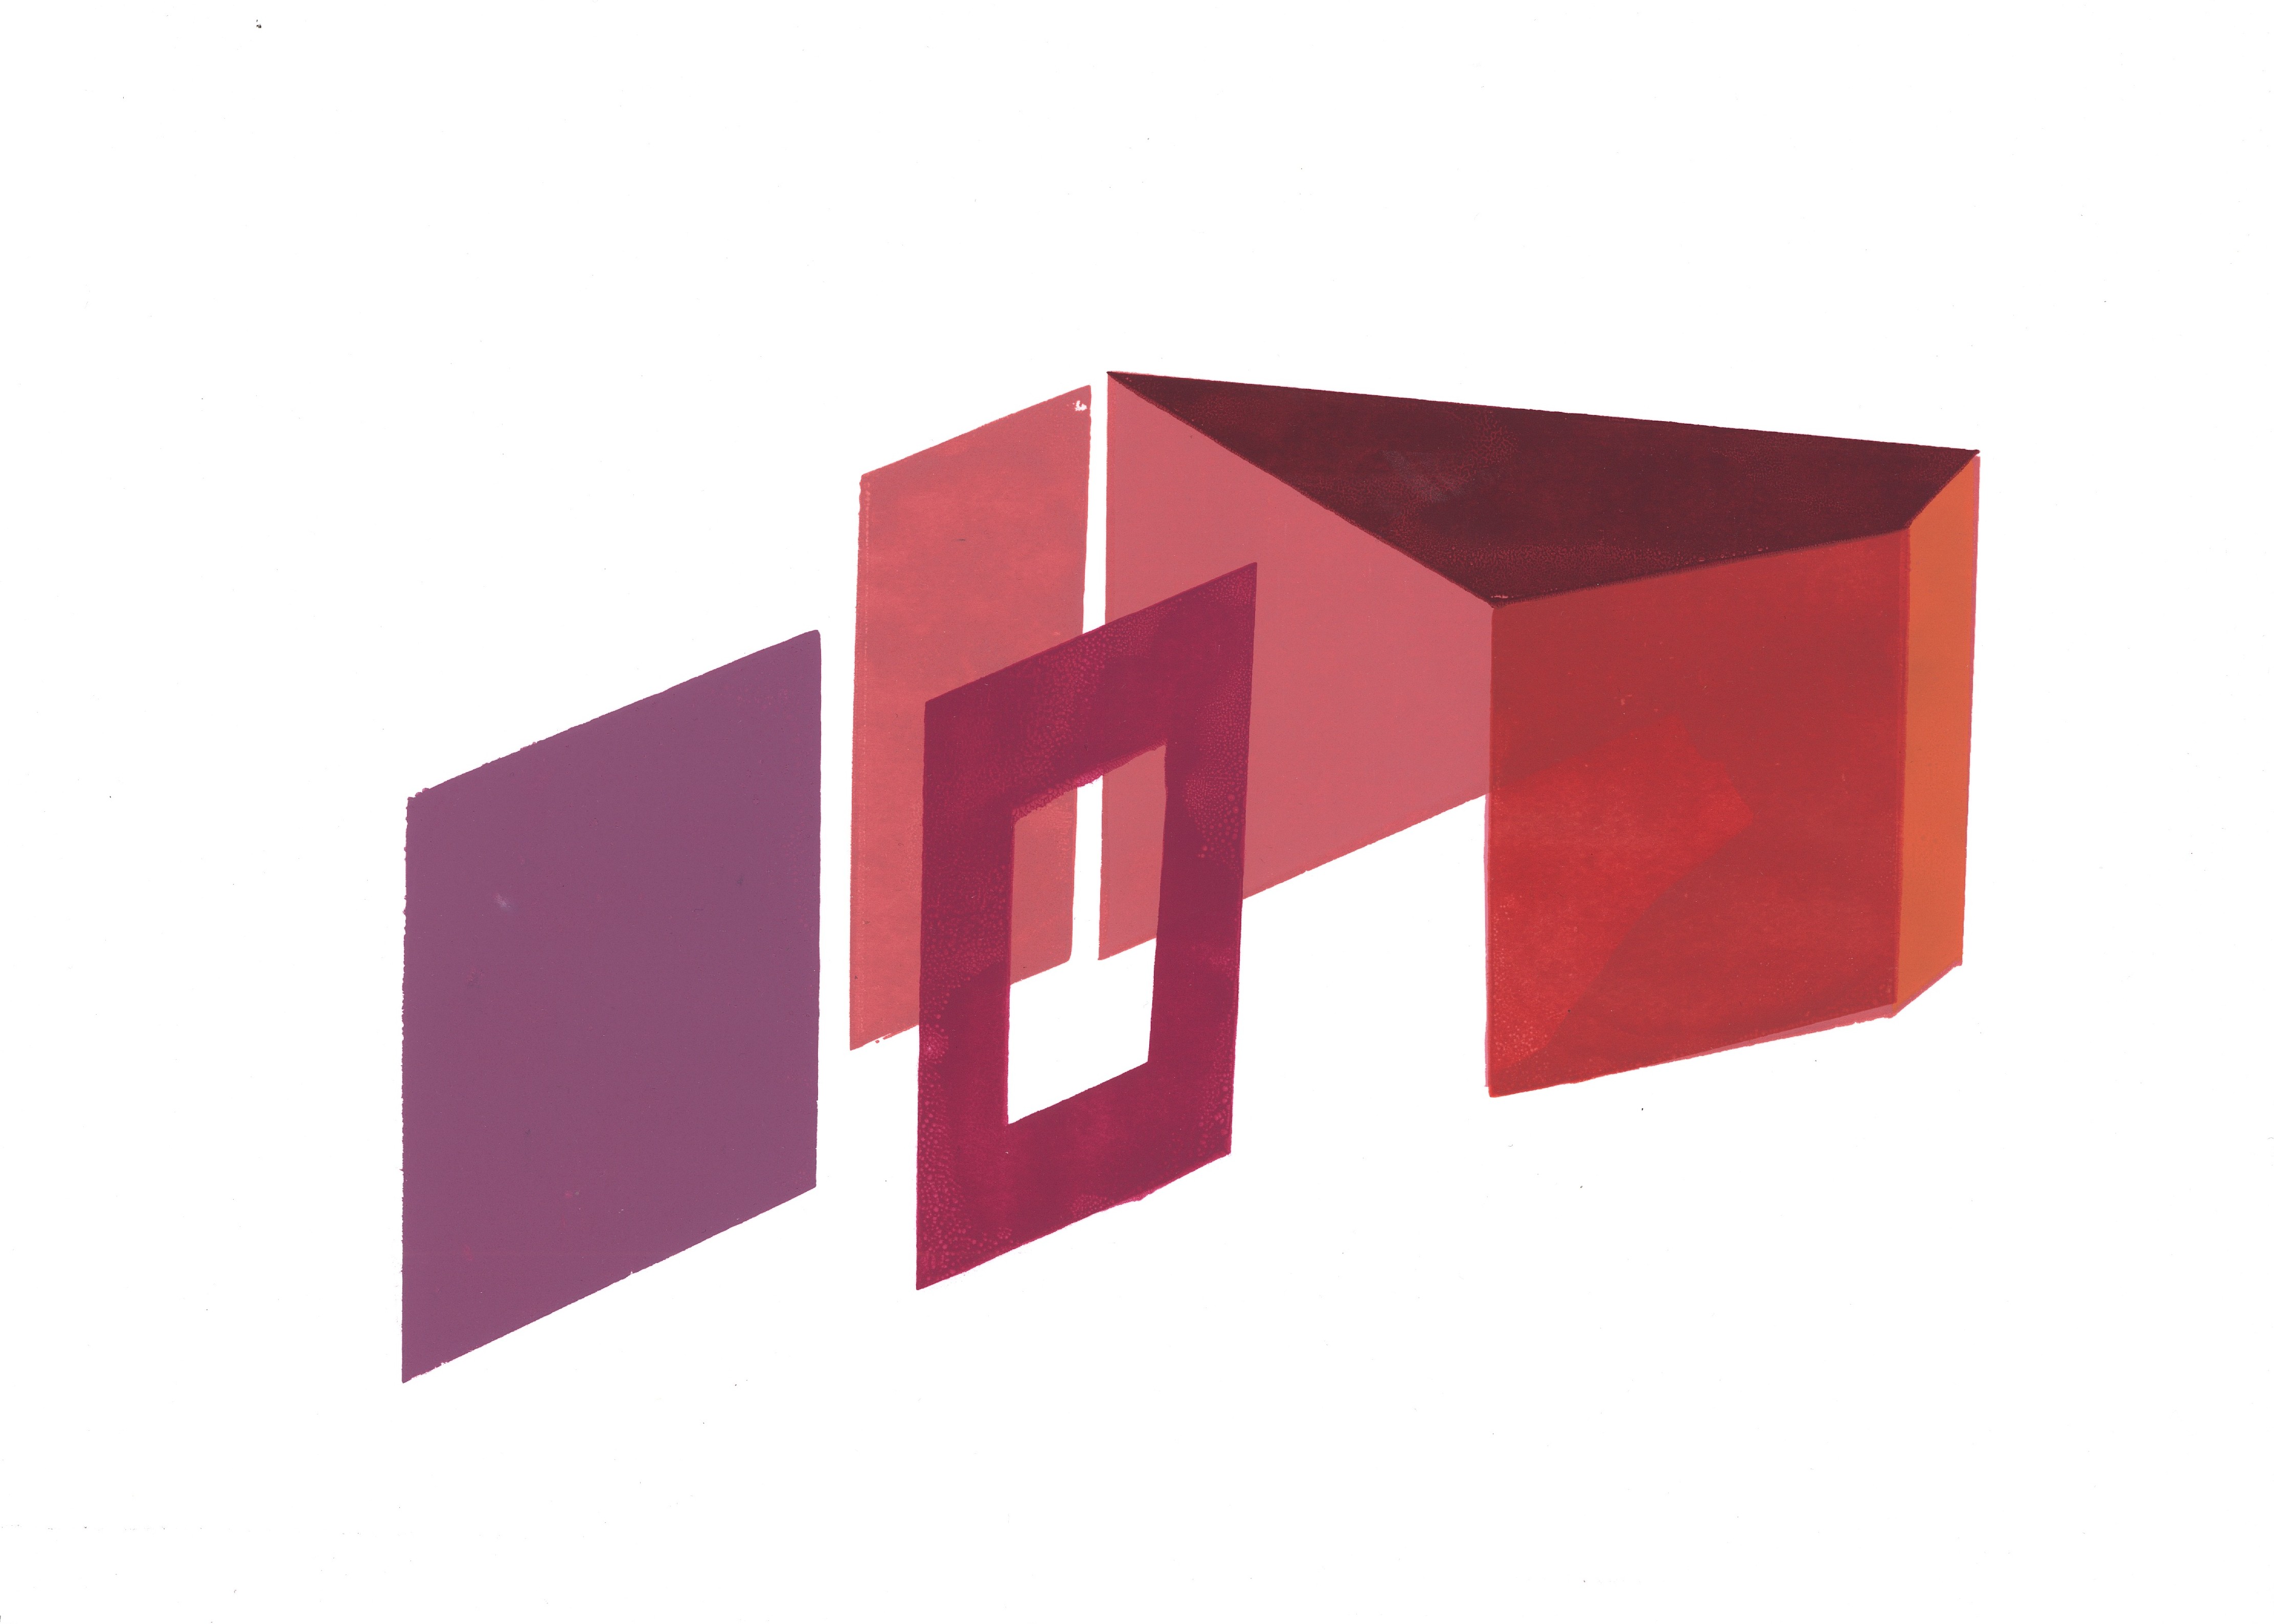
Brandon Francis
Hand-cut Stencil Screenprint
Fall 2015
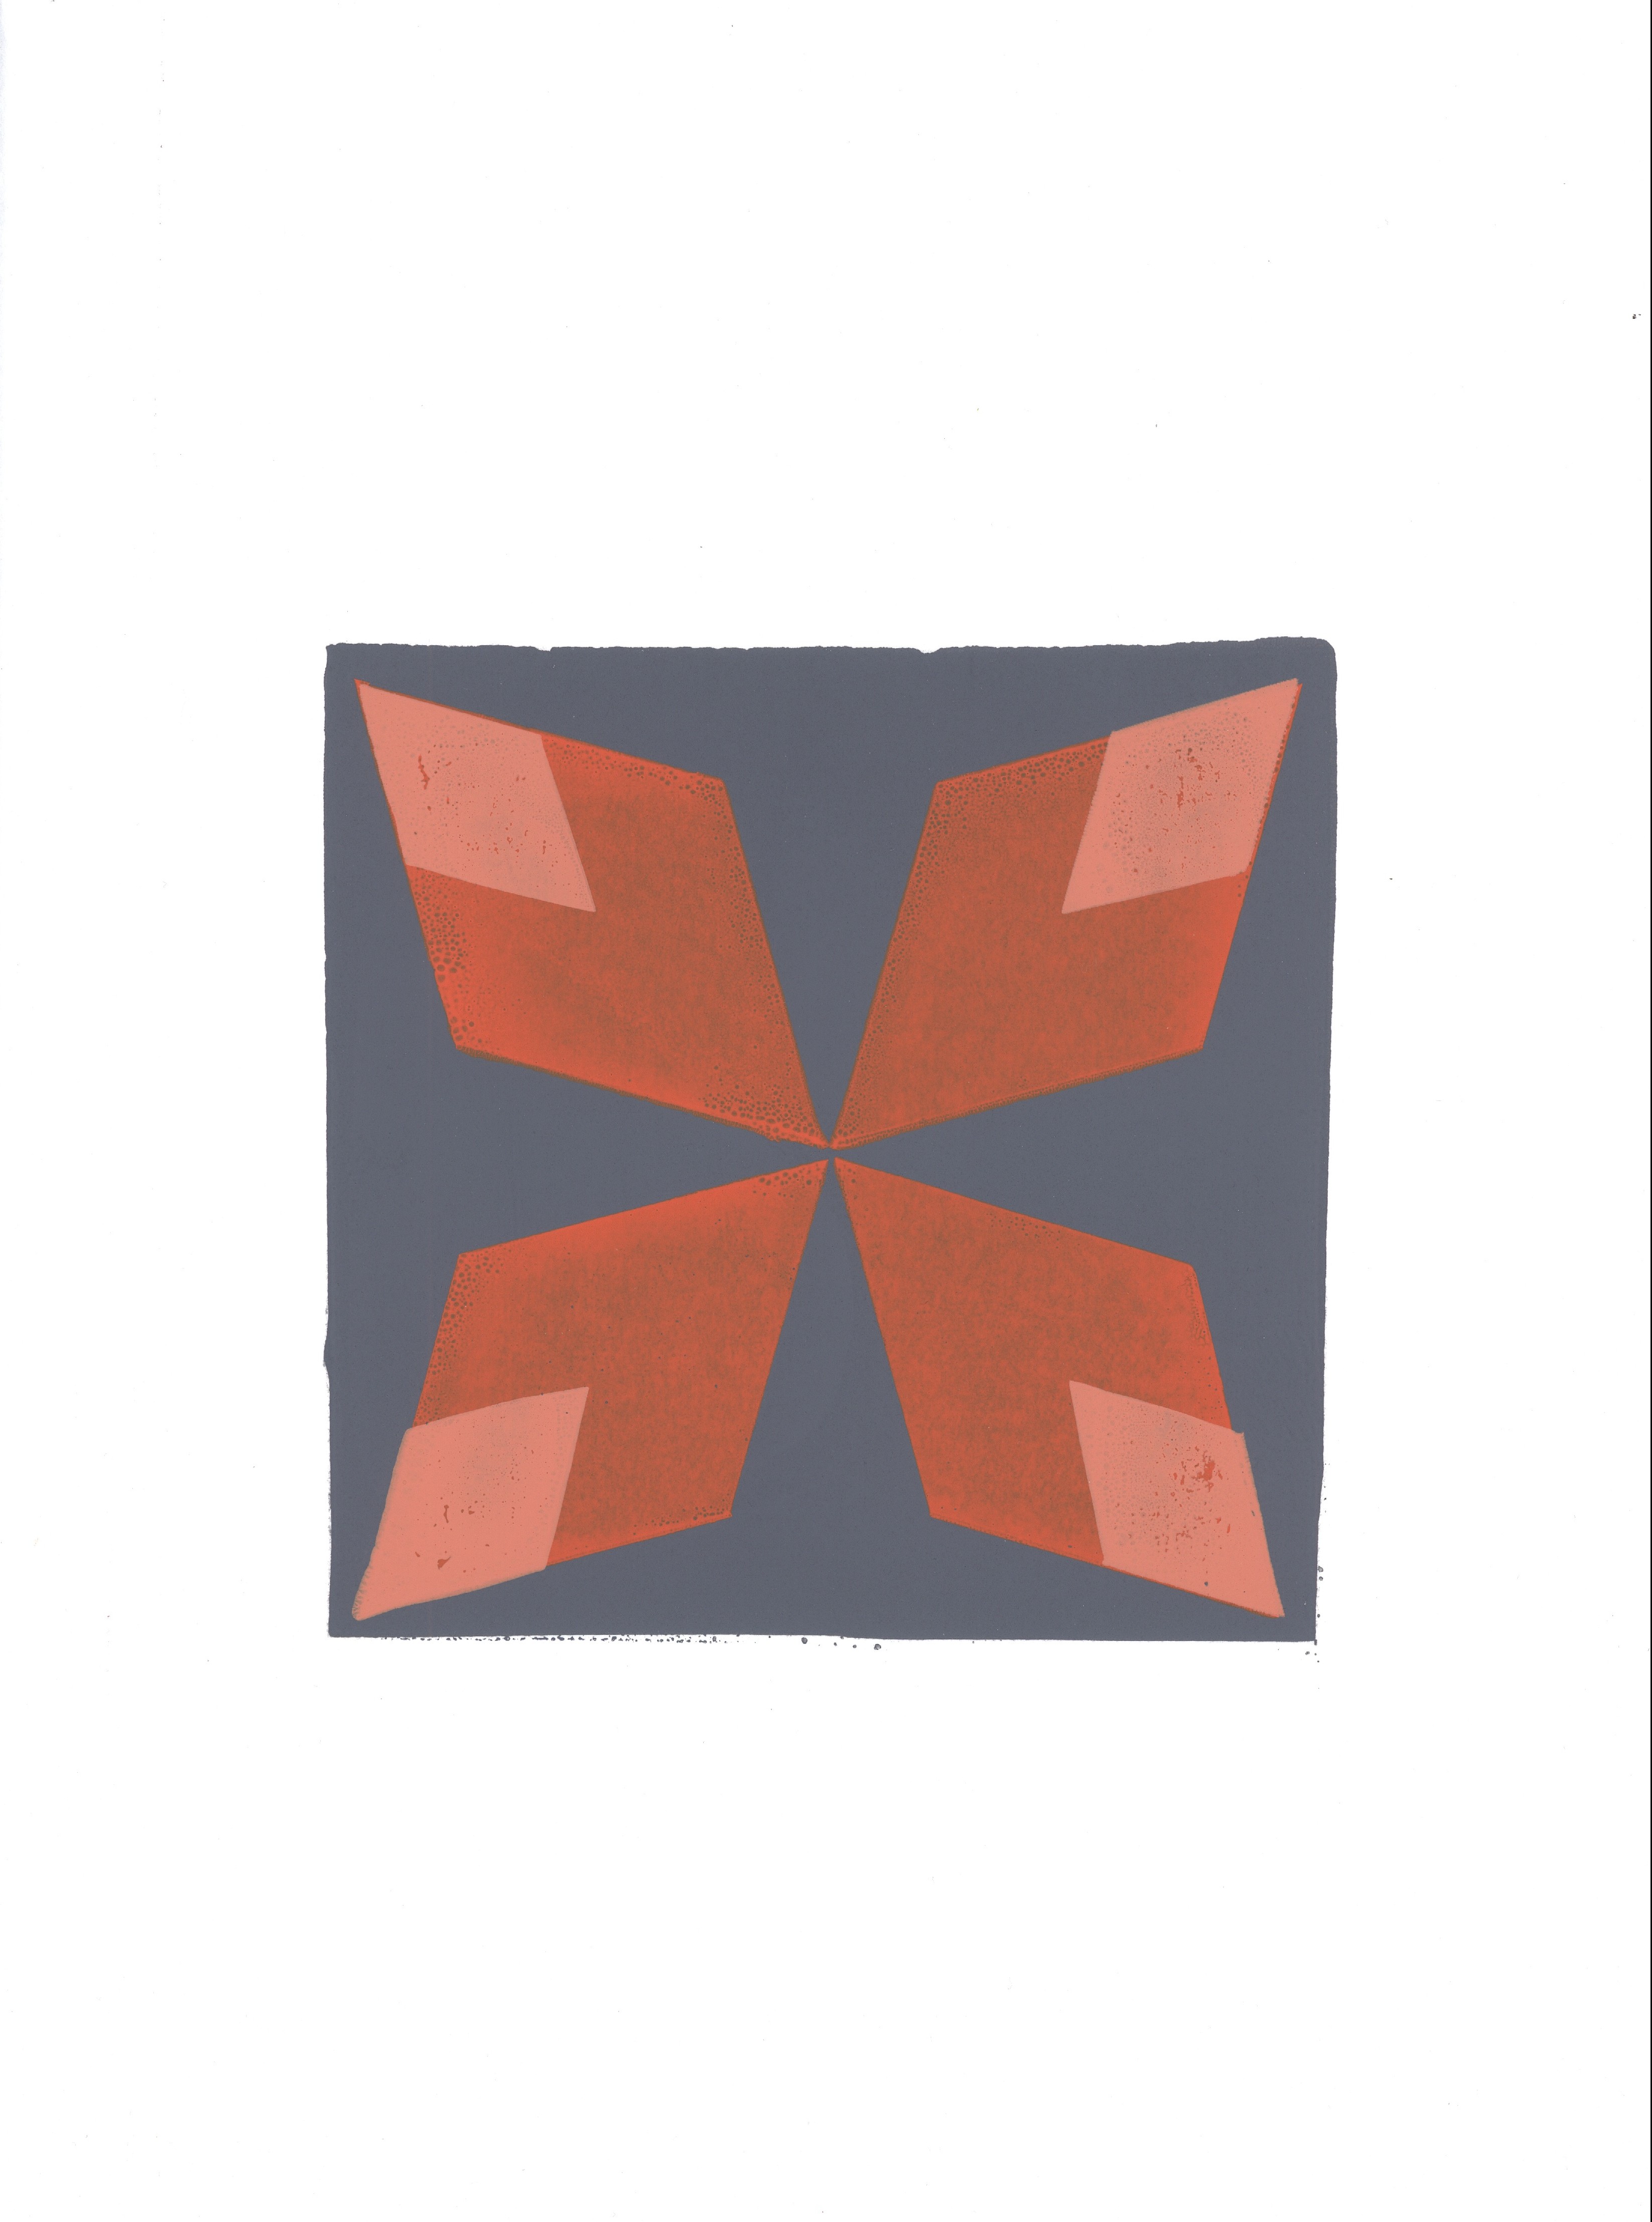
Caitlin Kennedy
Hand-cut Stencil Screenprint
Fall 2015

Kayla Rademacher
Hand-cut Stencil Screenprint
Fall 2015
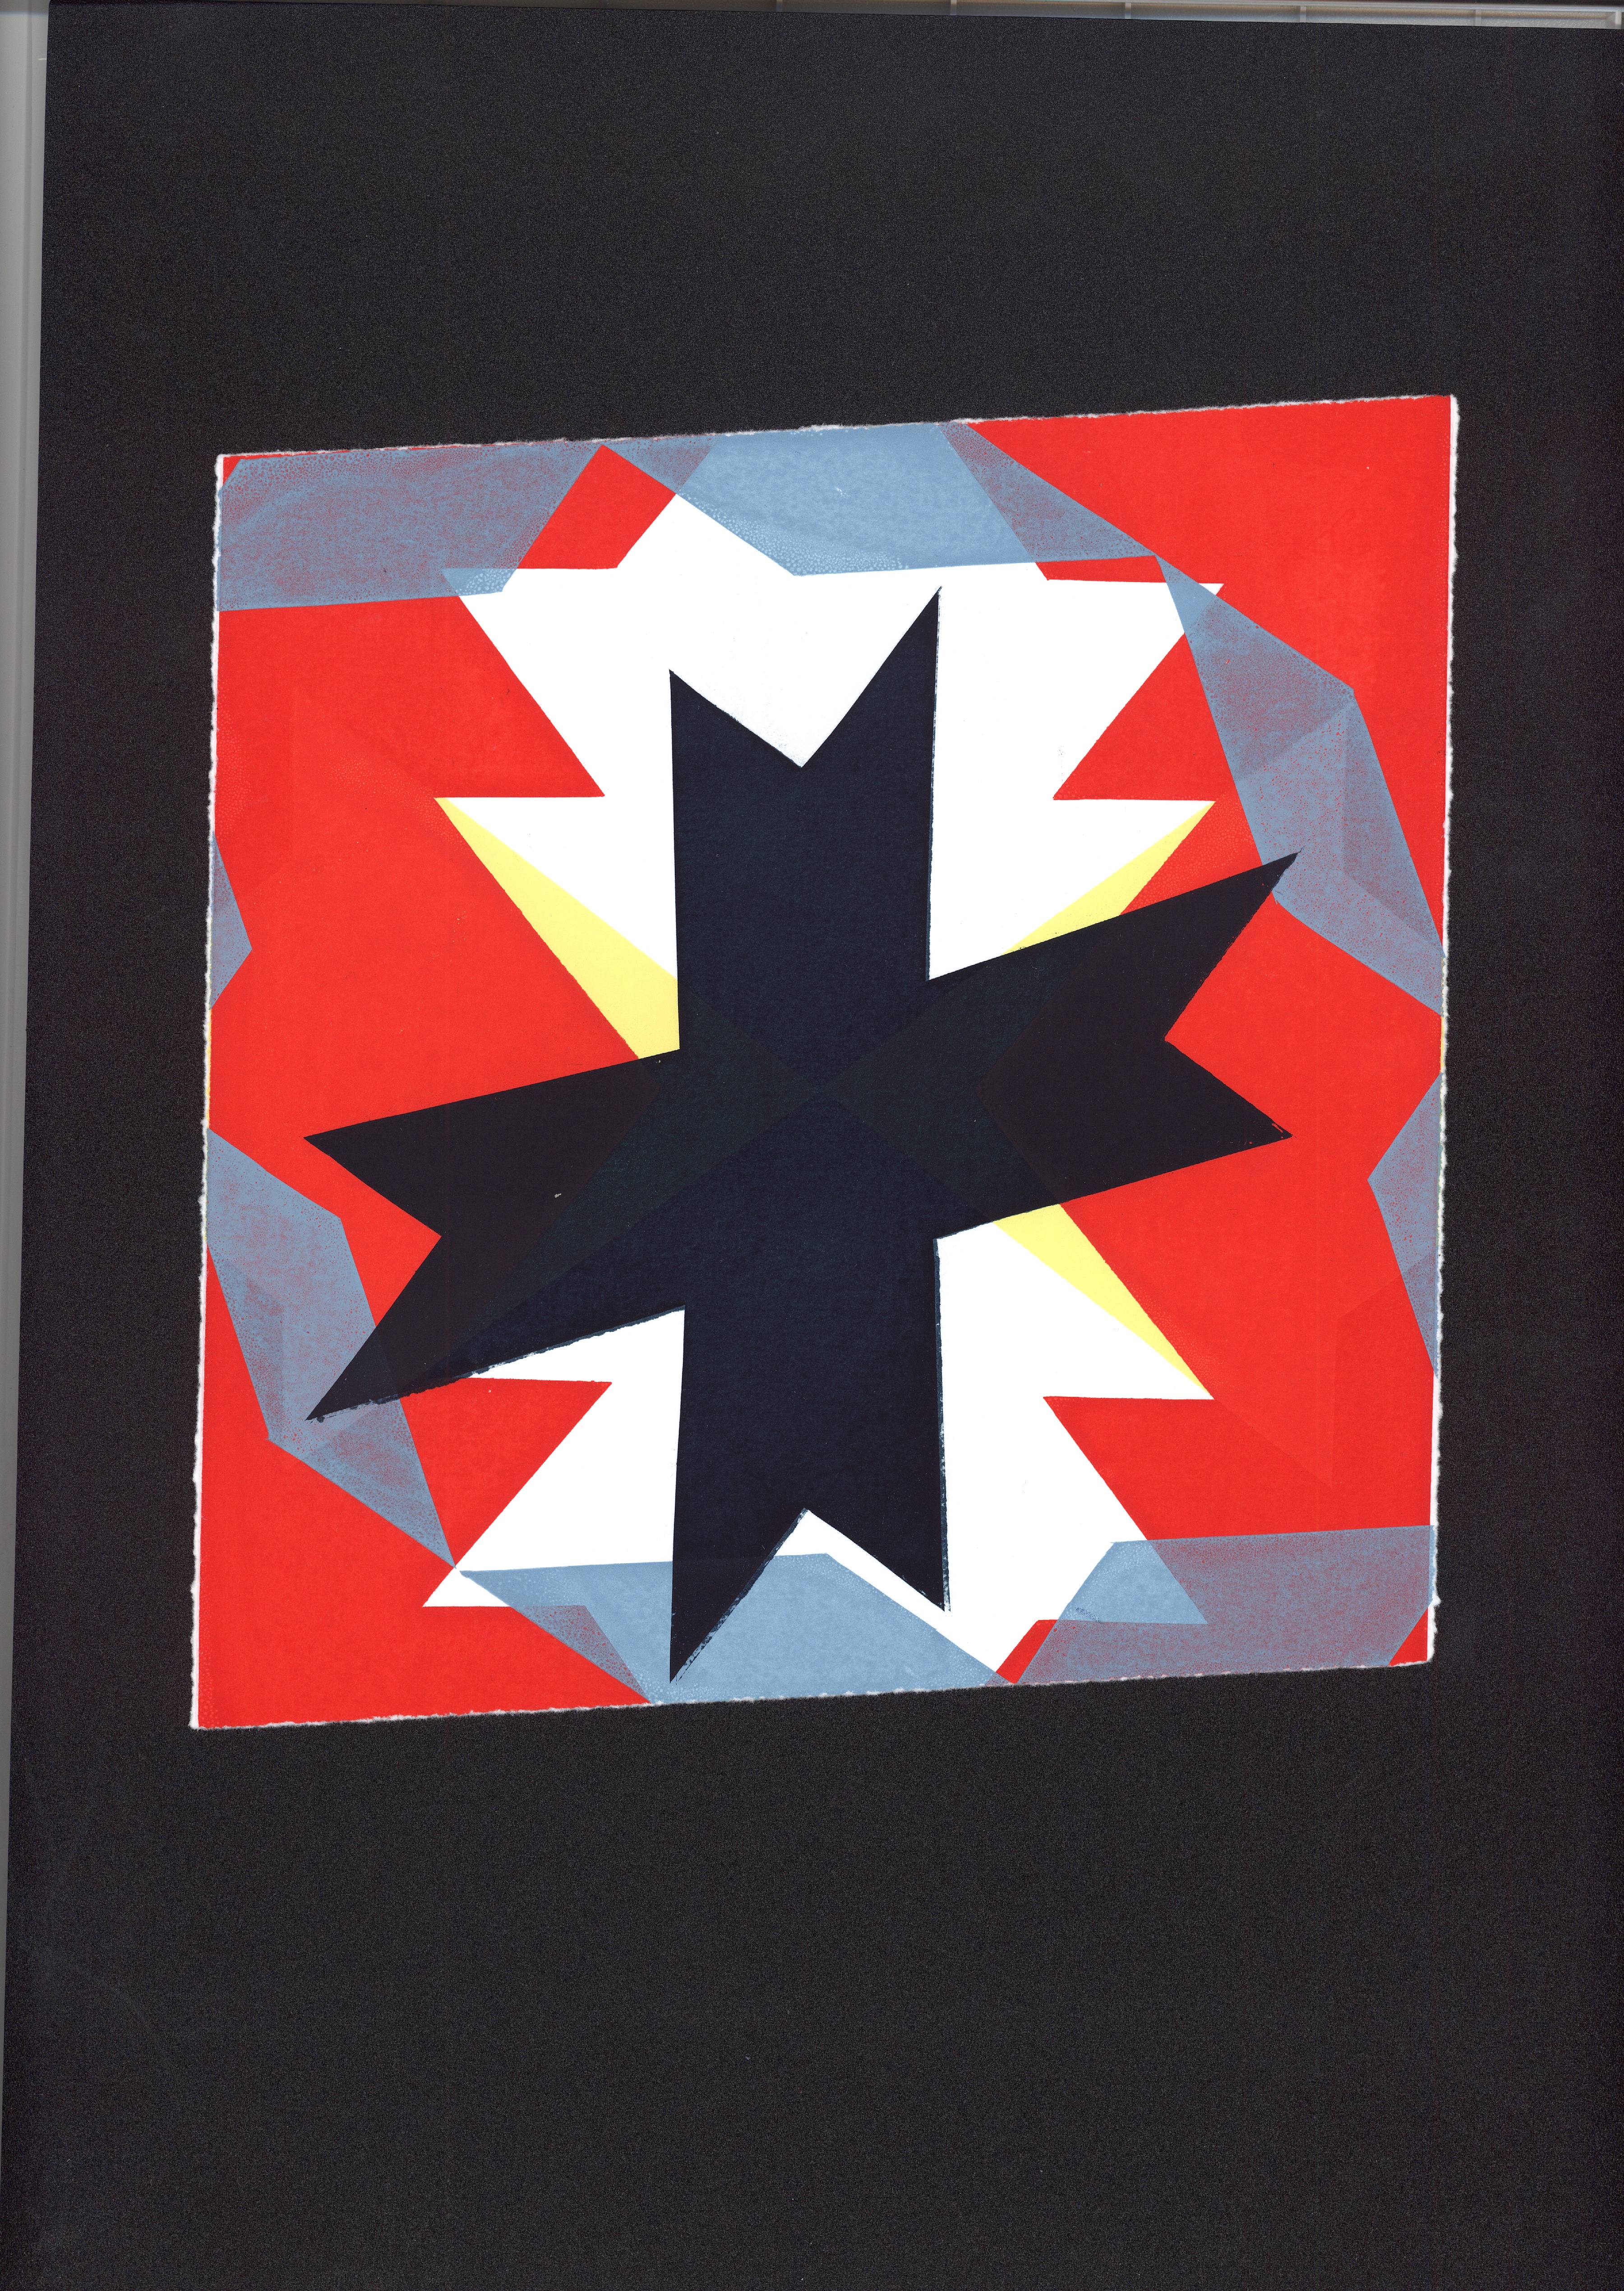
Lauren Mann
Hand-cut Stencil Screenprint
Fall 2015
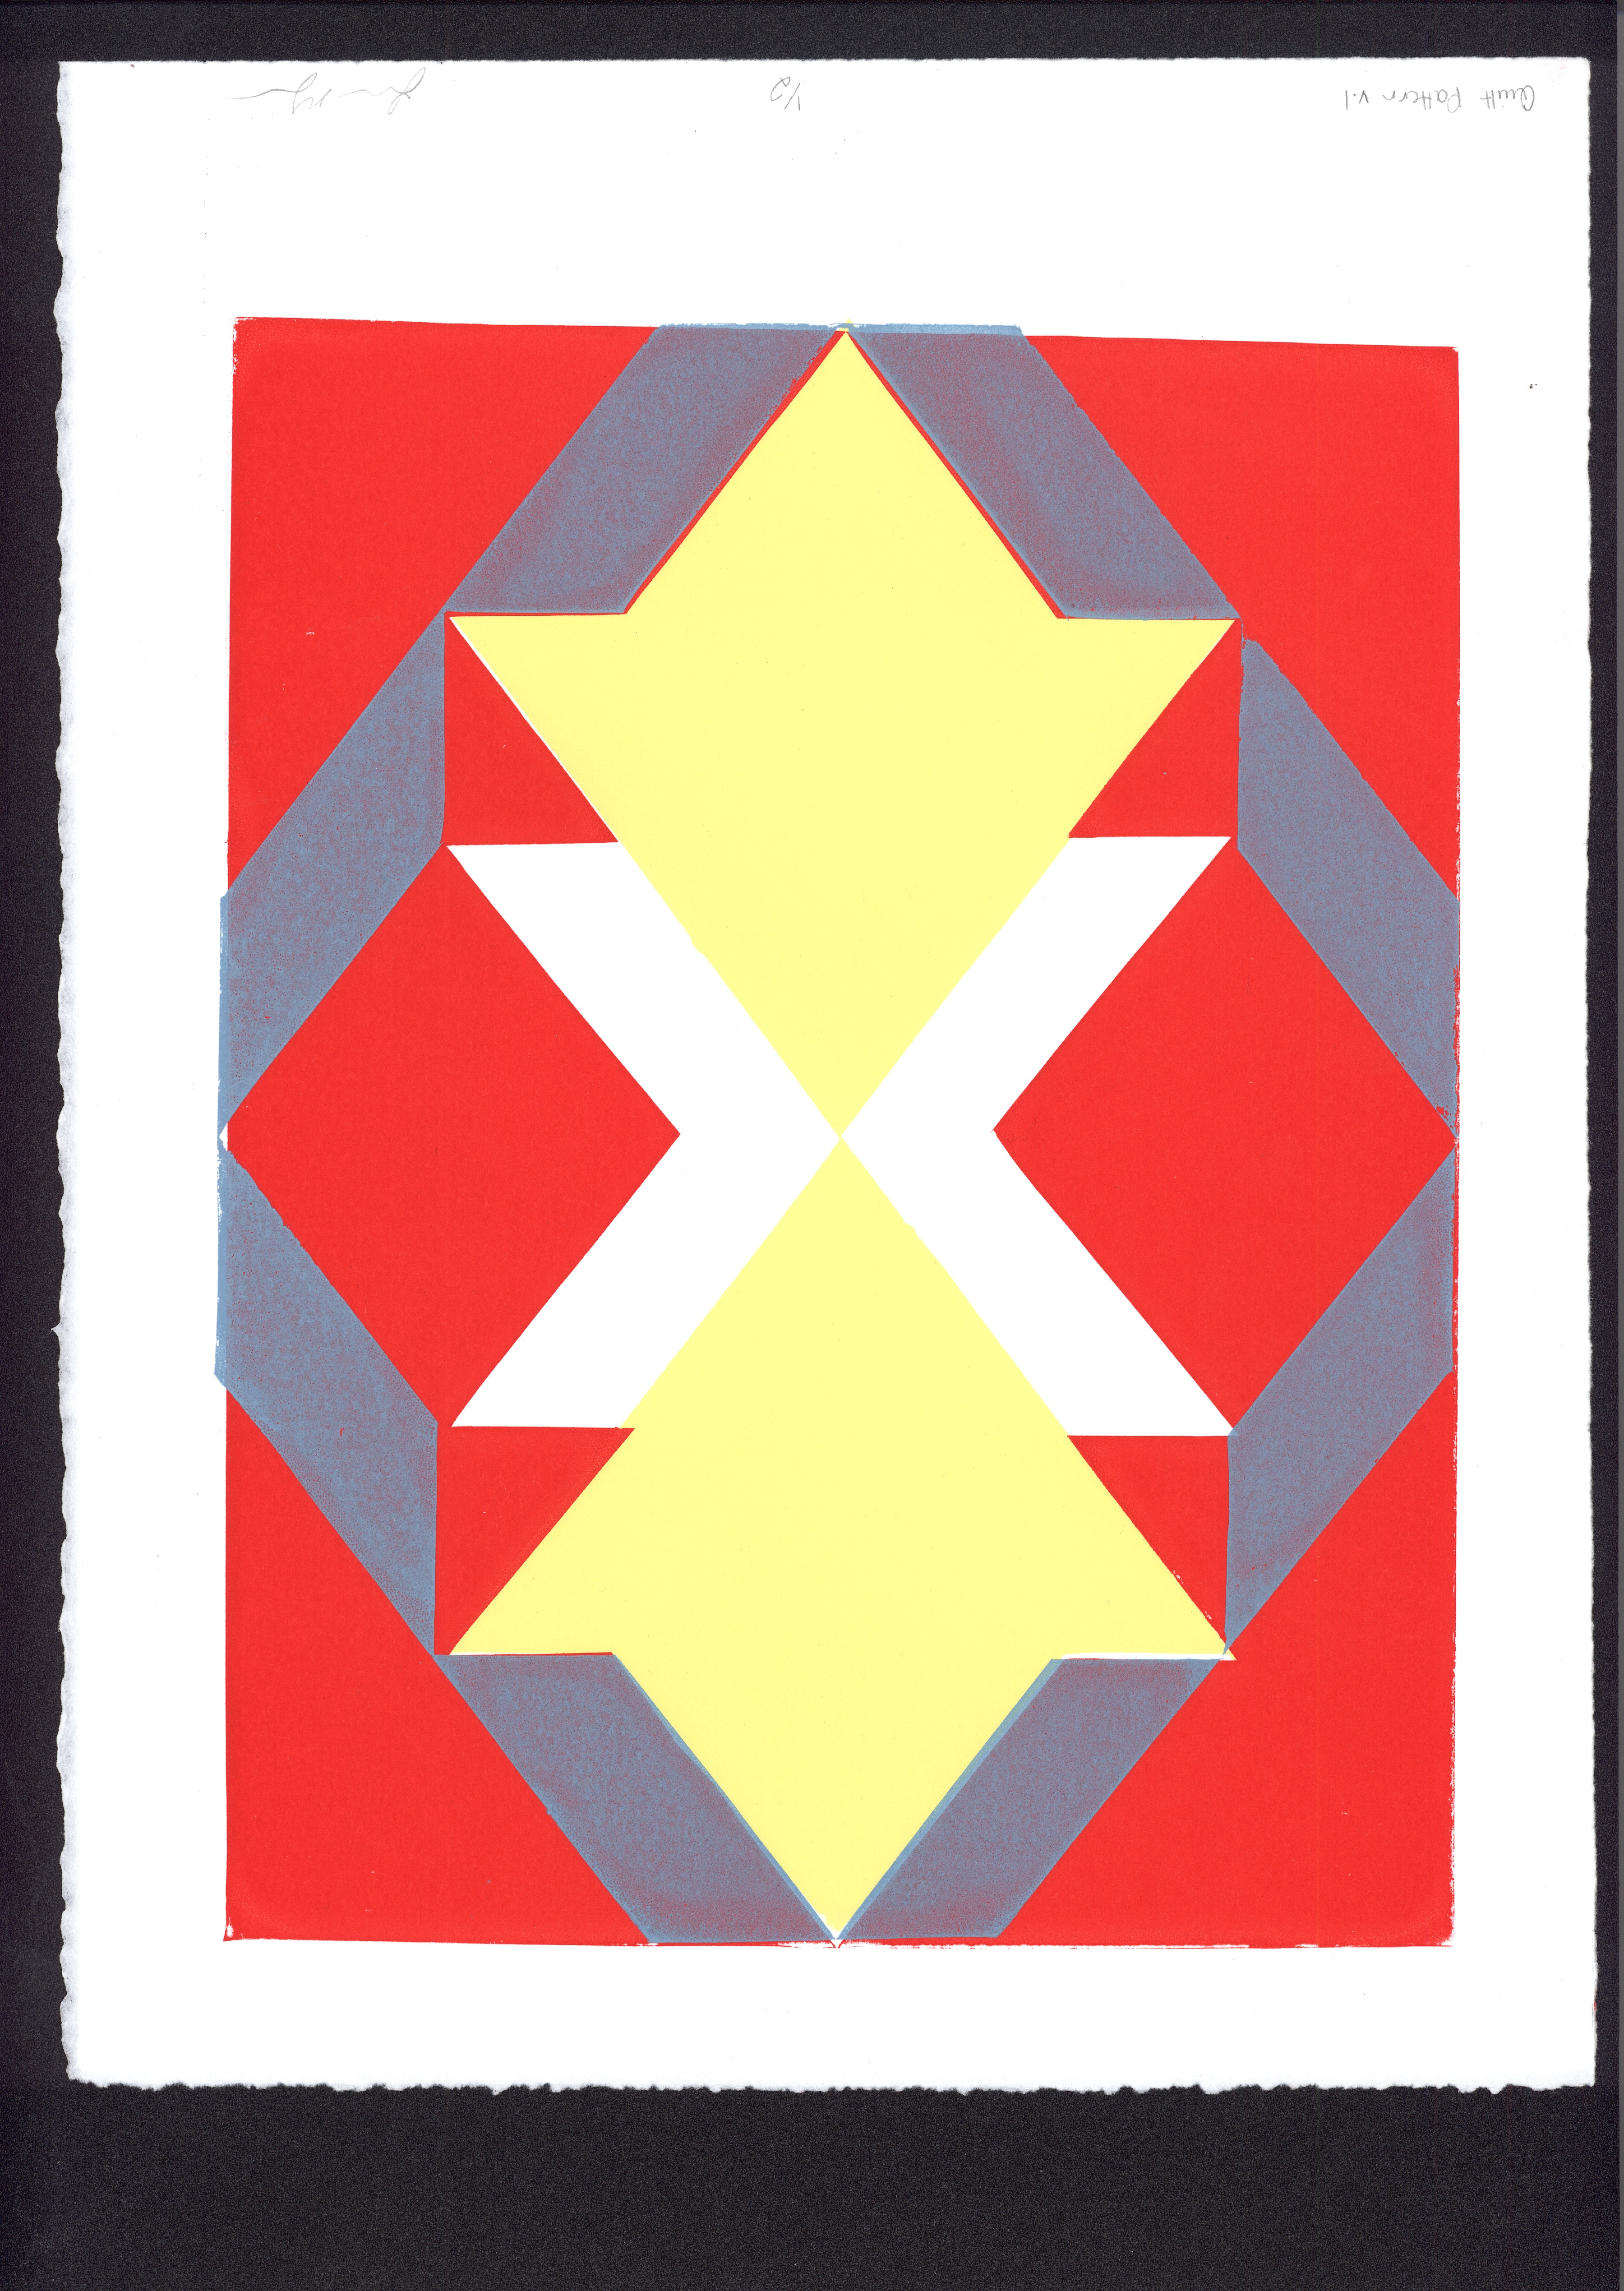
Lauren Mann
Hand-cut Stencil Screenprint
Fall 2015
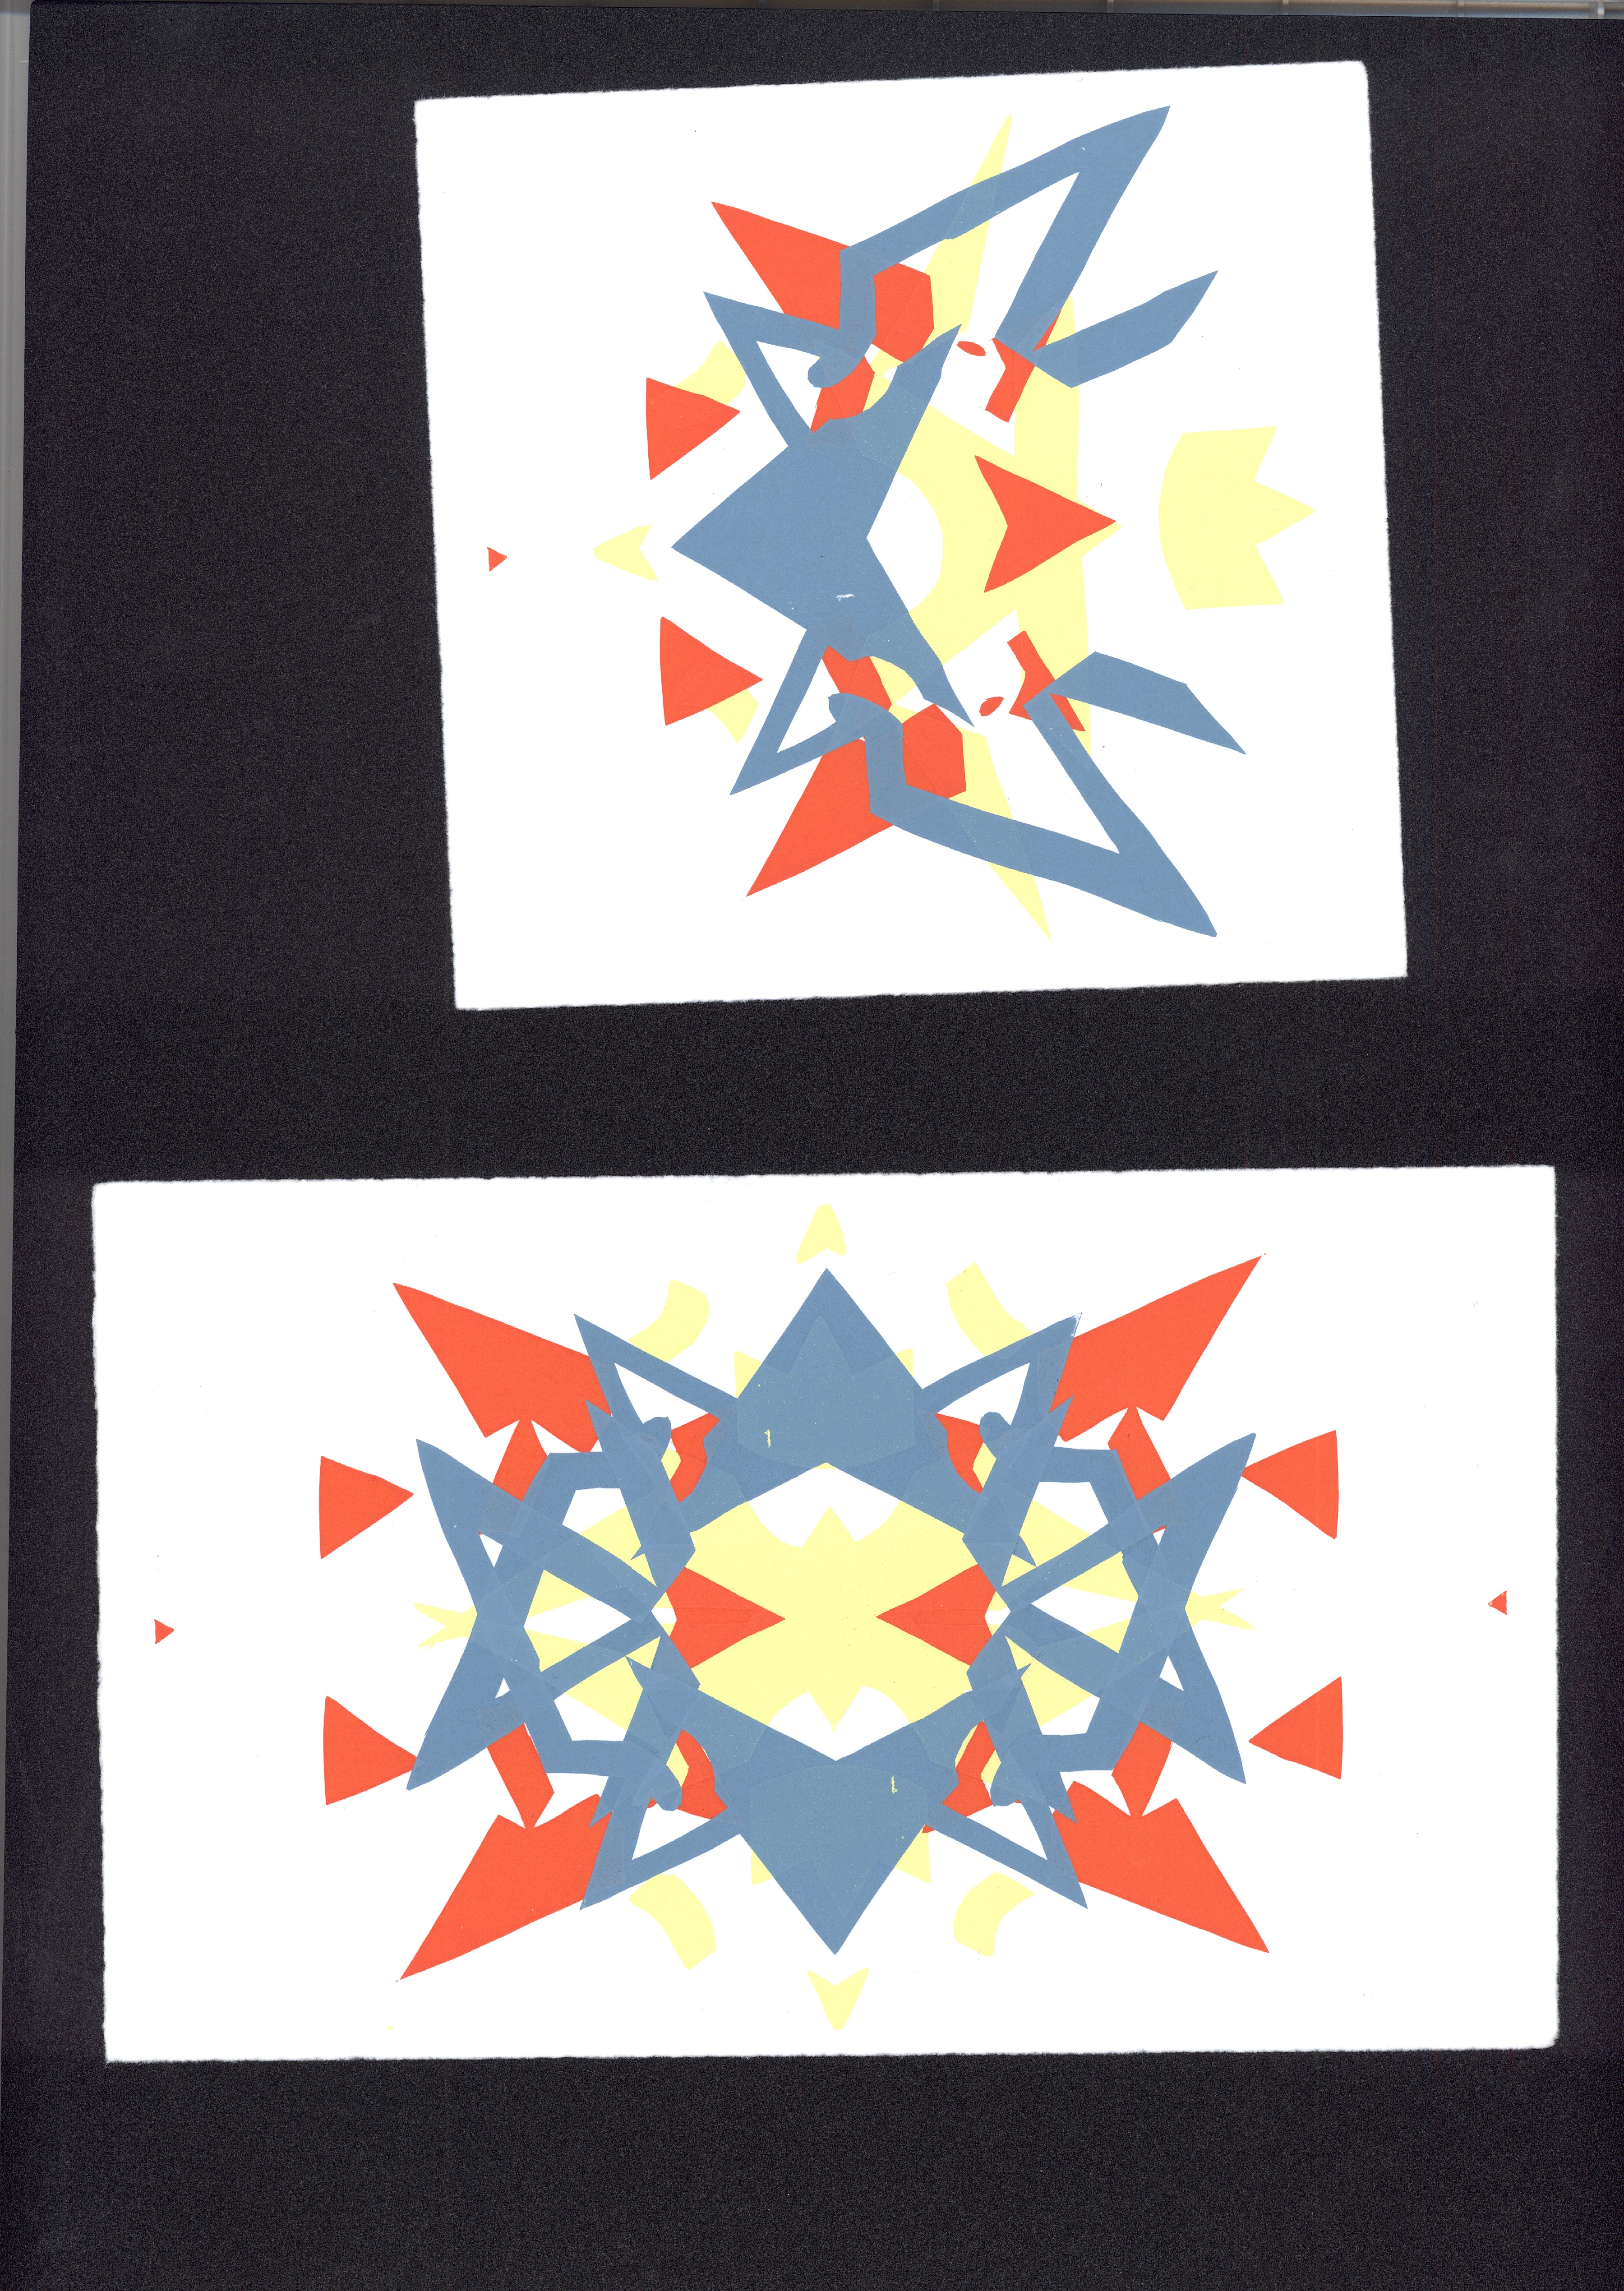
Terry Davis
Hand-cut Stencil Screenprints
Fall 2015
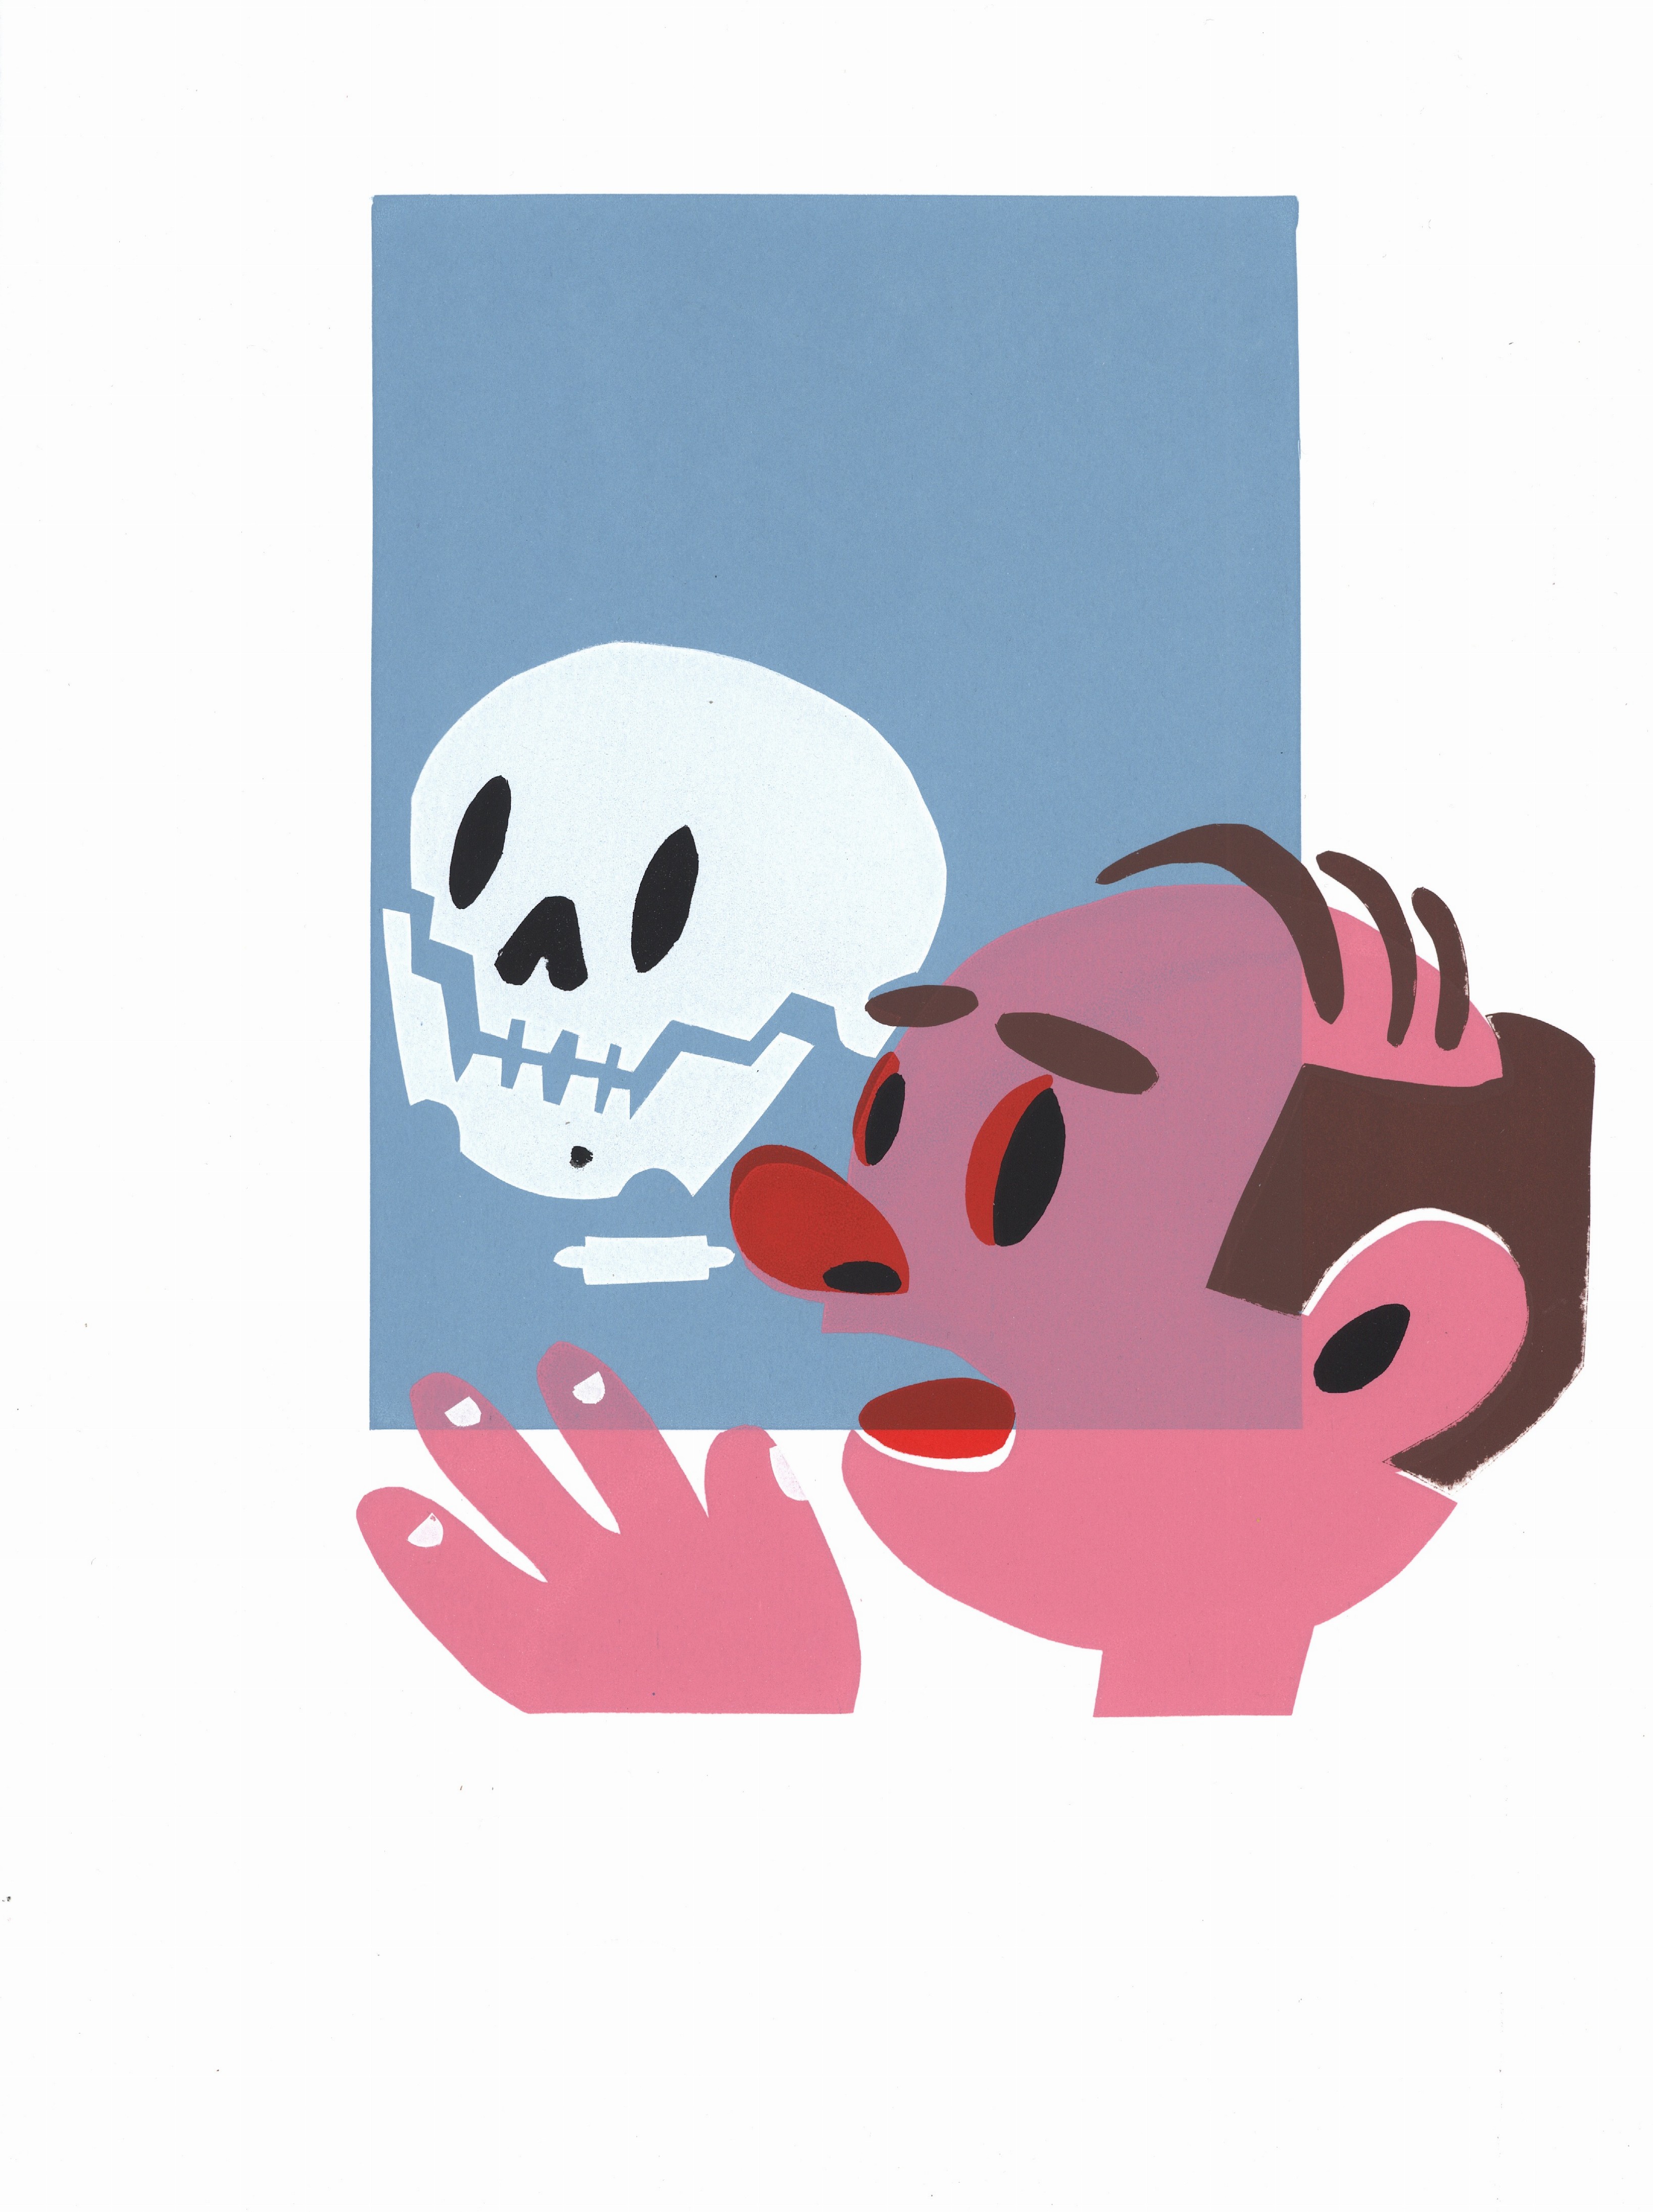
Terry Davis
Hand-cut Stencil Screenprint
Fall 2015